

Planet mosaic#
Create a composite dataset from Planet images taken at different times
Overview#
A mosaic is a process of combining spatially overlapping images into an individual image.
In the SEPAL platform, you can create a composite dataset from Planet images taken at different times by using different techniques. For example, you can choose to keep only the pixel value from the first or last image, or combine the values of the overlapping pixels using a weighting algorithm, the average, or the maximum or minimum value. In addition, certain preprocessing tasks can be applied to mask clouds, shadows, snow, etc. These operations are complex and repetitive. SEPAL offers an interactive and intuitive way to create Planet mosaics within any area of interest (AOI).

Attention
You won’t be able to retrieve images if your SEPAL and Google Earth Engine (GEE) accounts are not connected (see Connect SEPAL to GEE).
You also need to connect your GEE account with Planet (see Use NICFI - Planet Lab data).
Start#
Once the Planet mosaic recipe is selected, SEPAL will show the recipe process in a new tab (see 1 in the image below) and the AOI selection window will appear in the lower right (2).
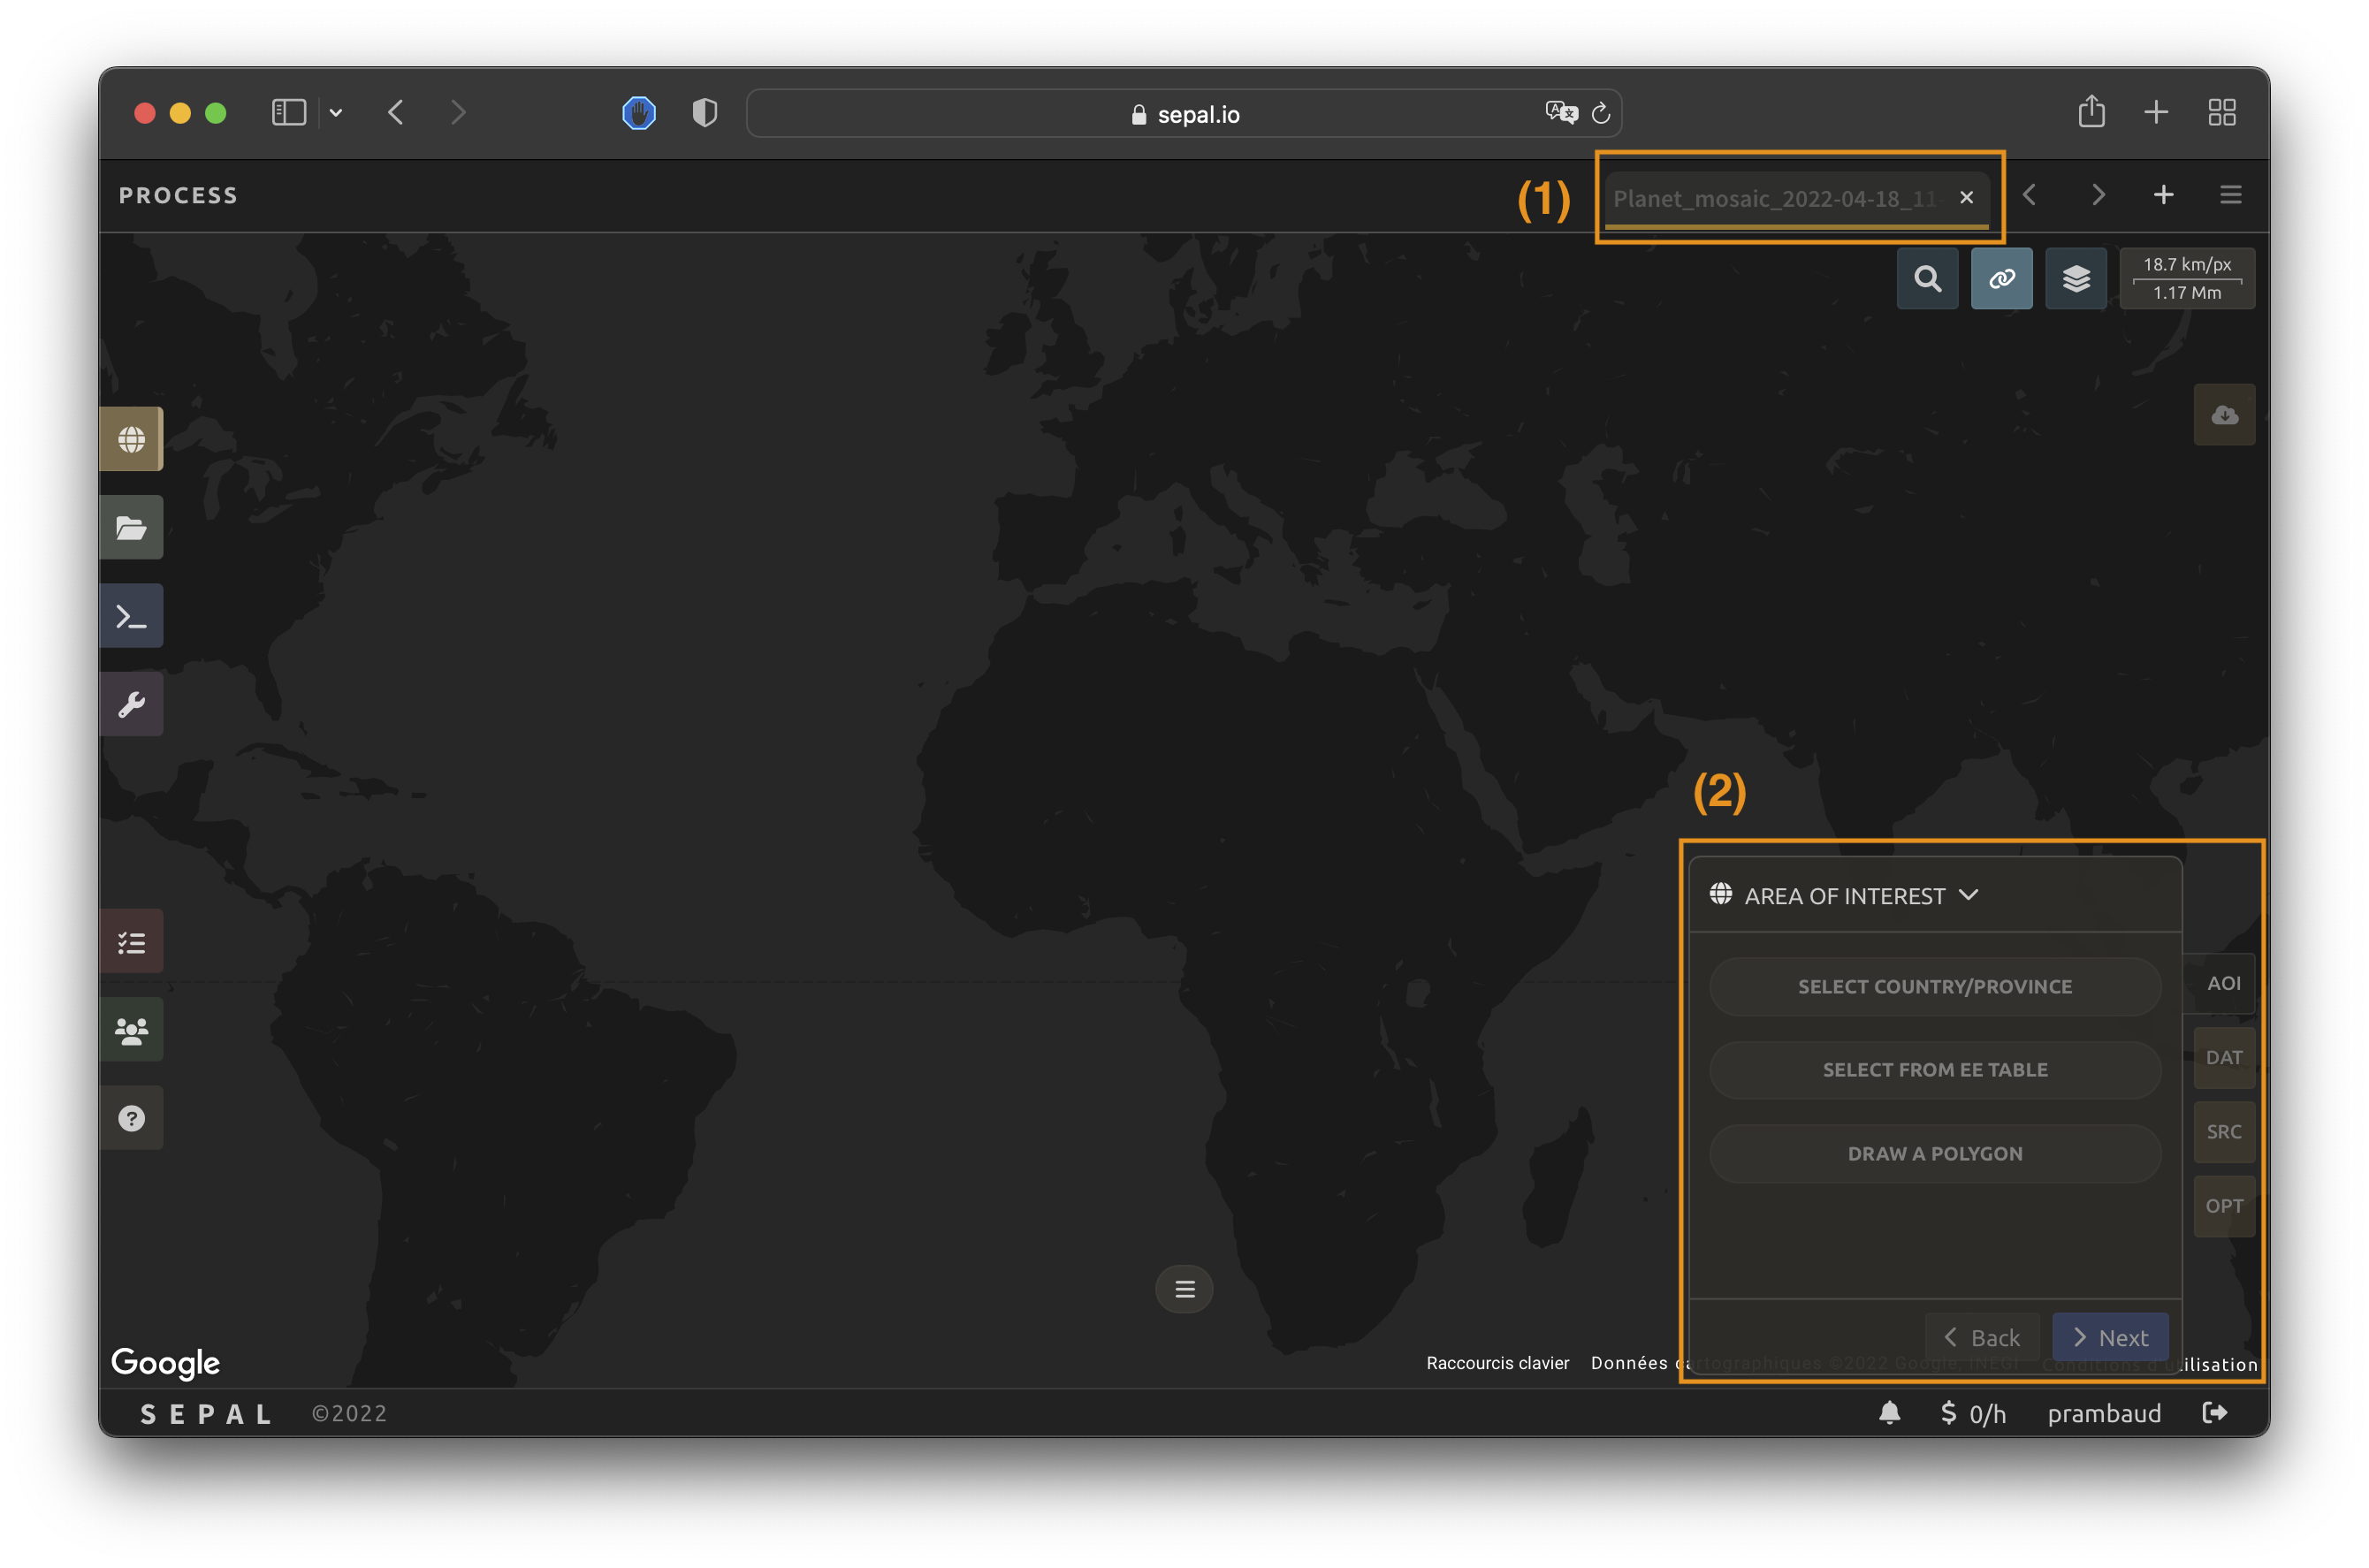
The first step is to change the name of the recipe, which will be used to name your files and recipes in SEPAL folders.
Double-click the tab and enter a new name (it will default to Planet_mosaic_<start_date>_<end_date>).


Tip
The SEPAL team recommends using the following naming convention: <aoi name>_<dates>_<measure>.
Parameters#
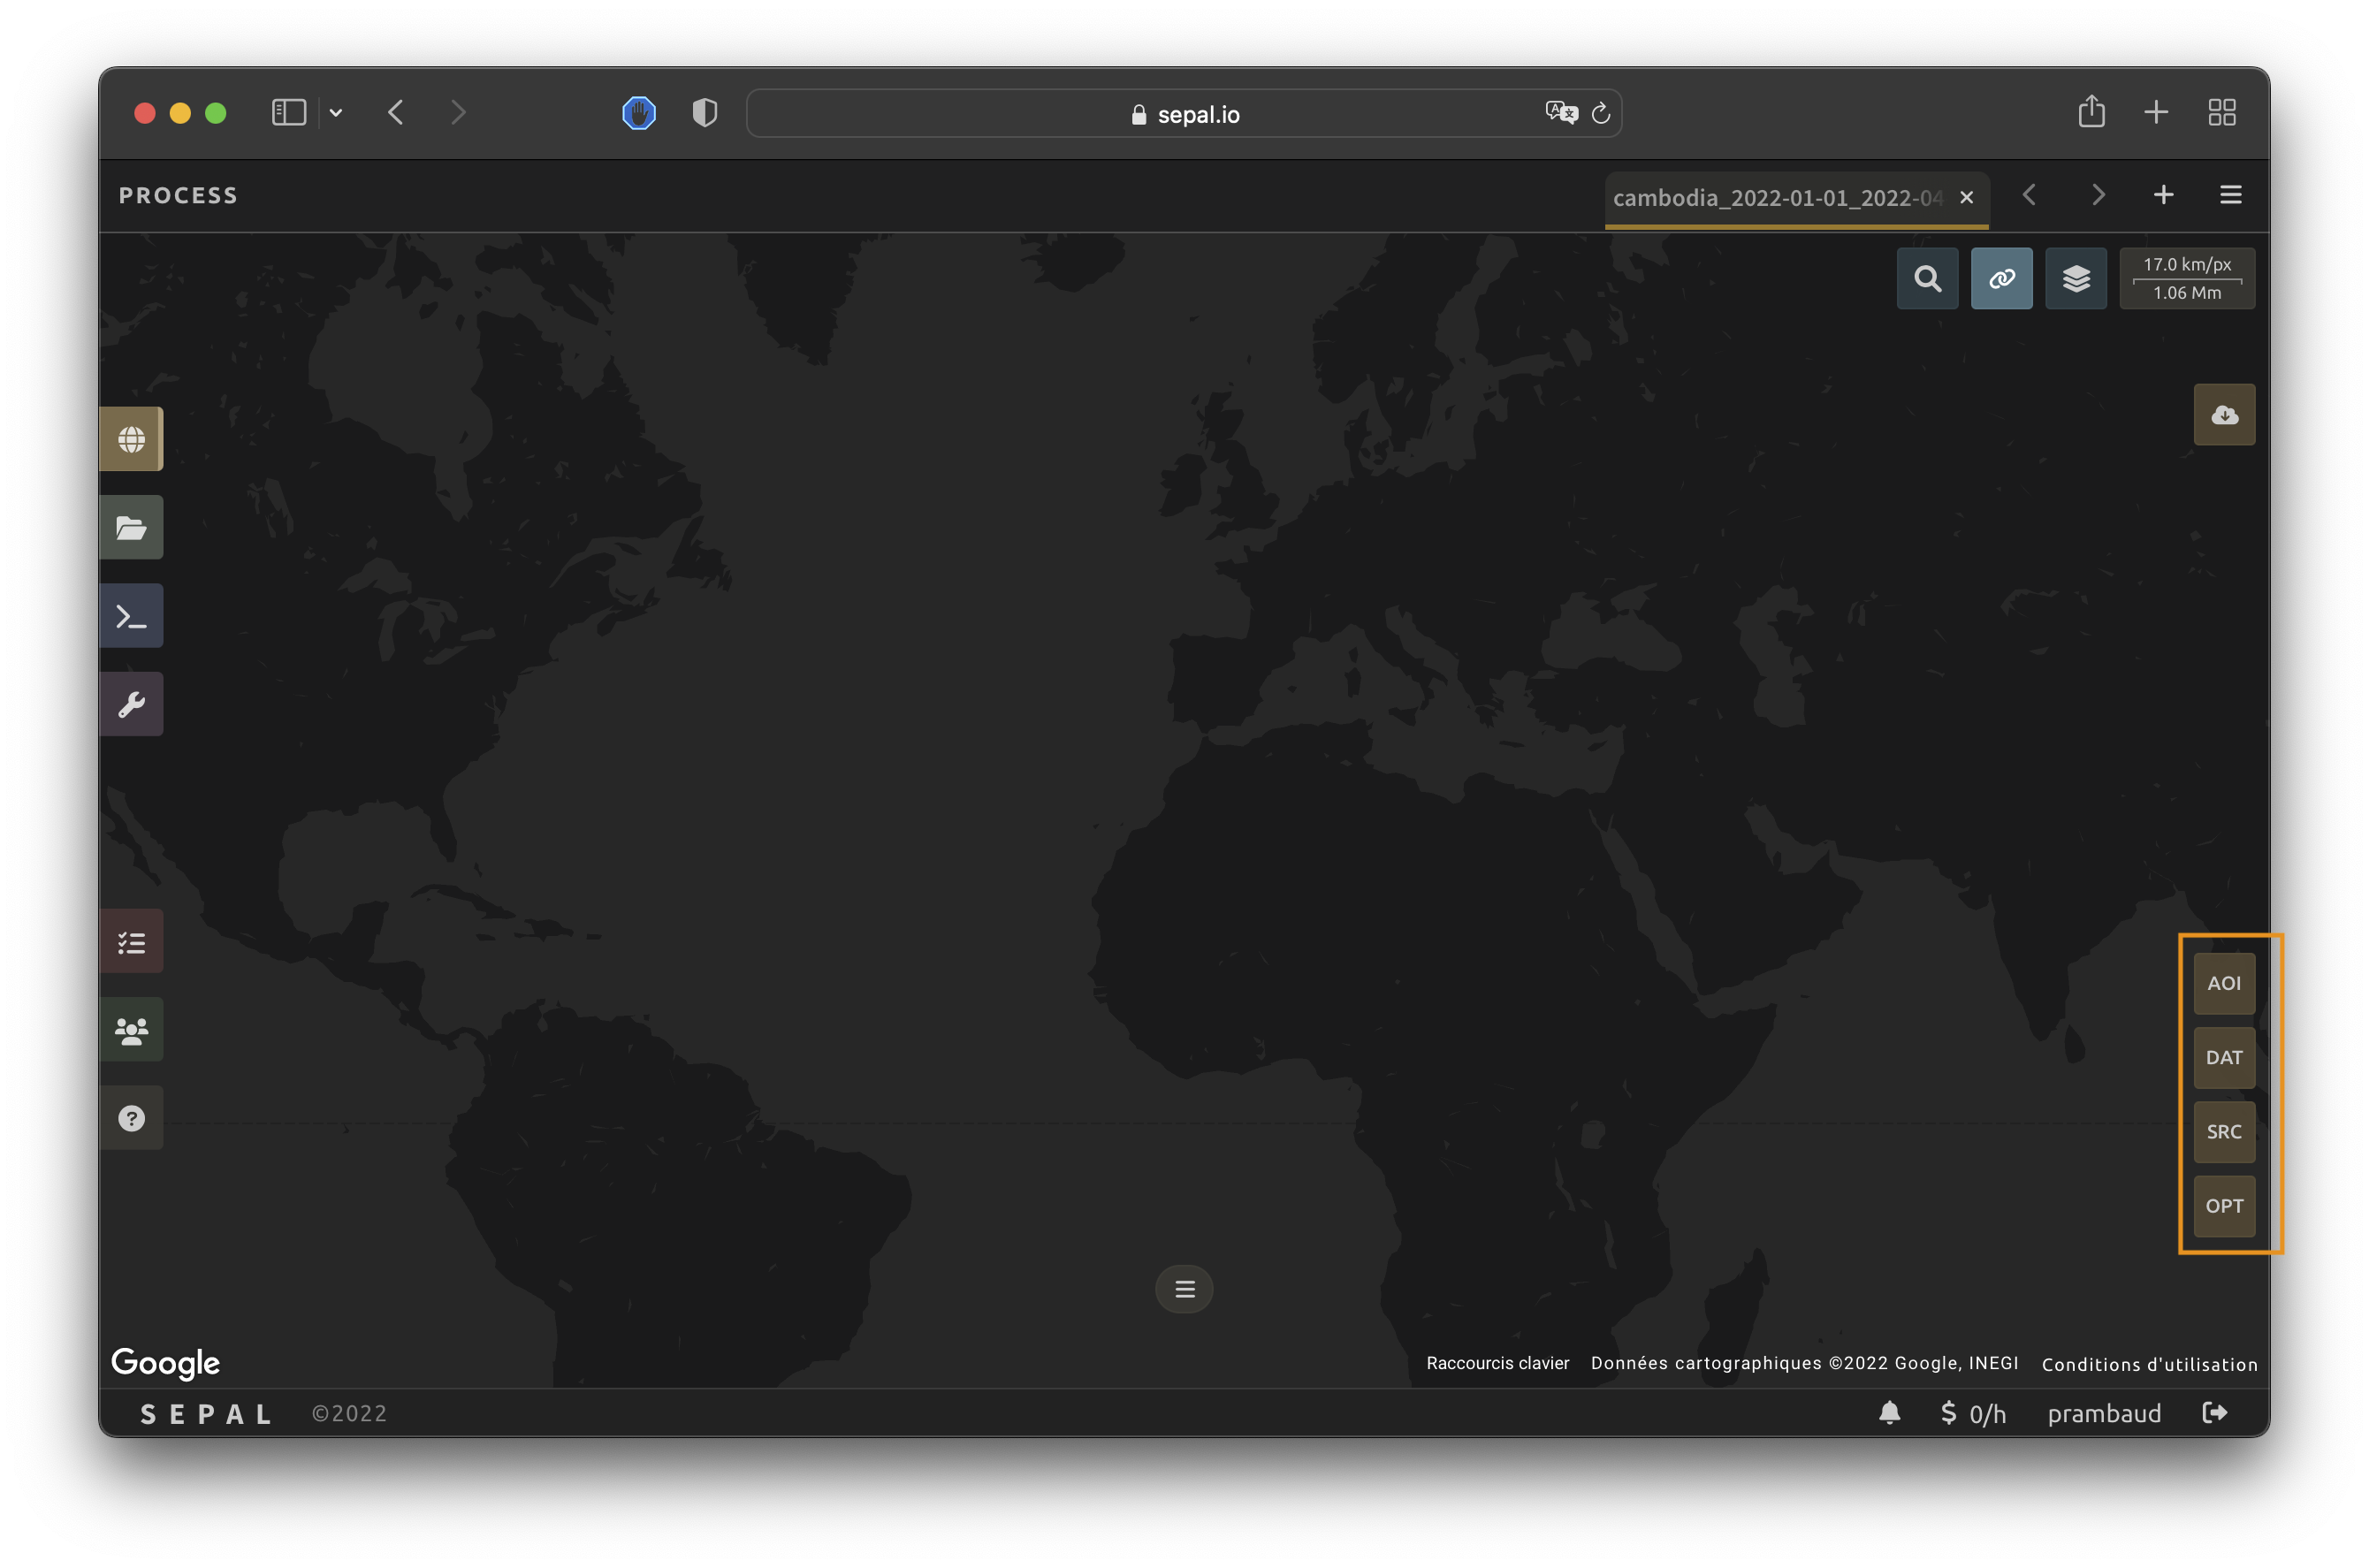
In the lower right, four tabs are available, allowing you to customize the planet mosaic to your needs.
AOI: Area of interest (AOI)
DAT: Dates of time series
SRC: Time series dataset source
OPT: Filtering options
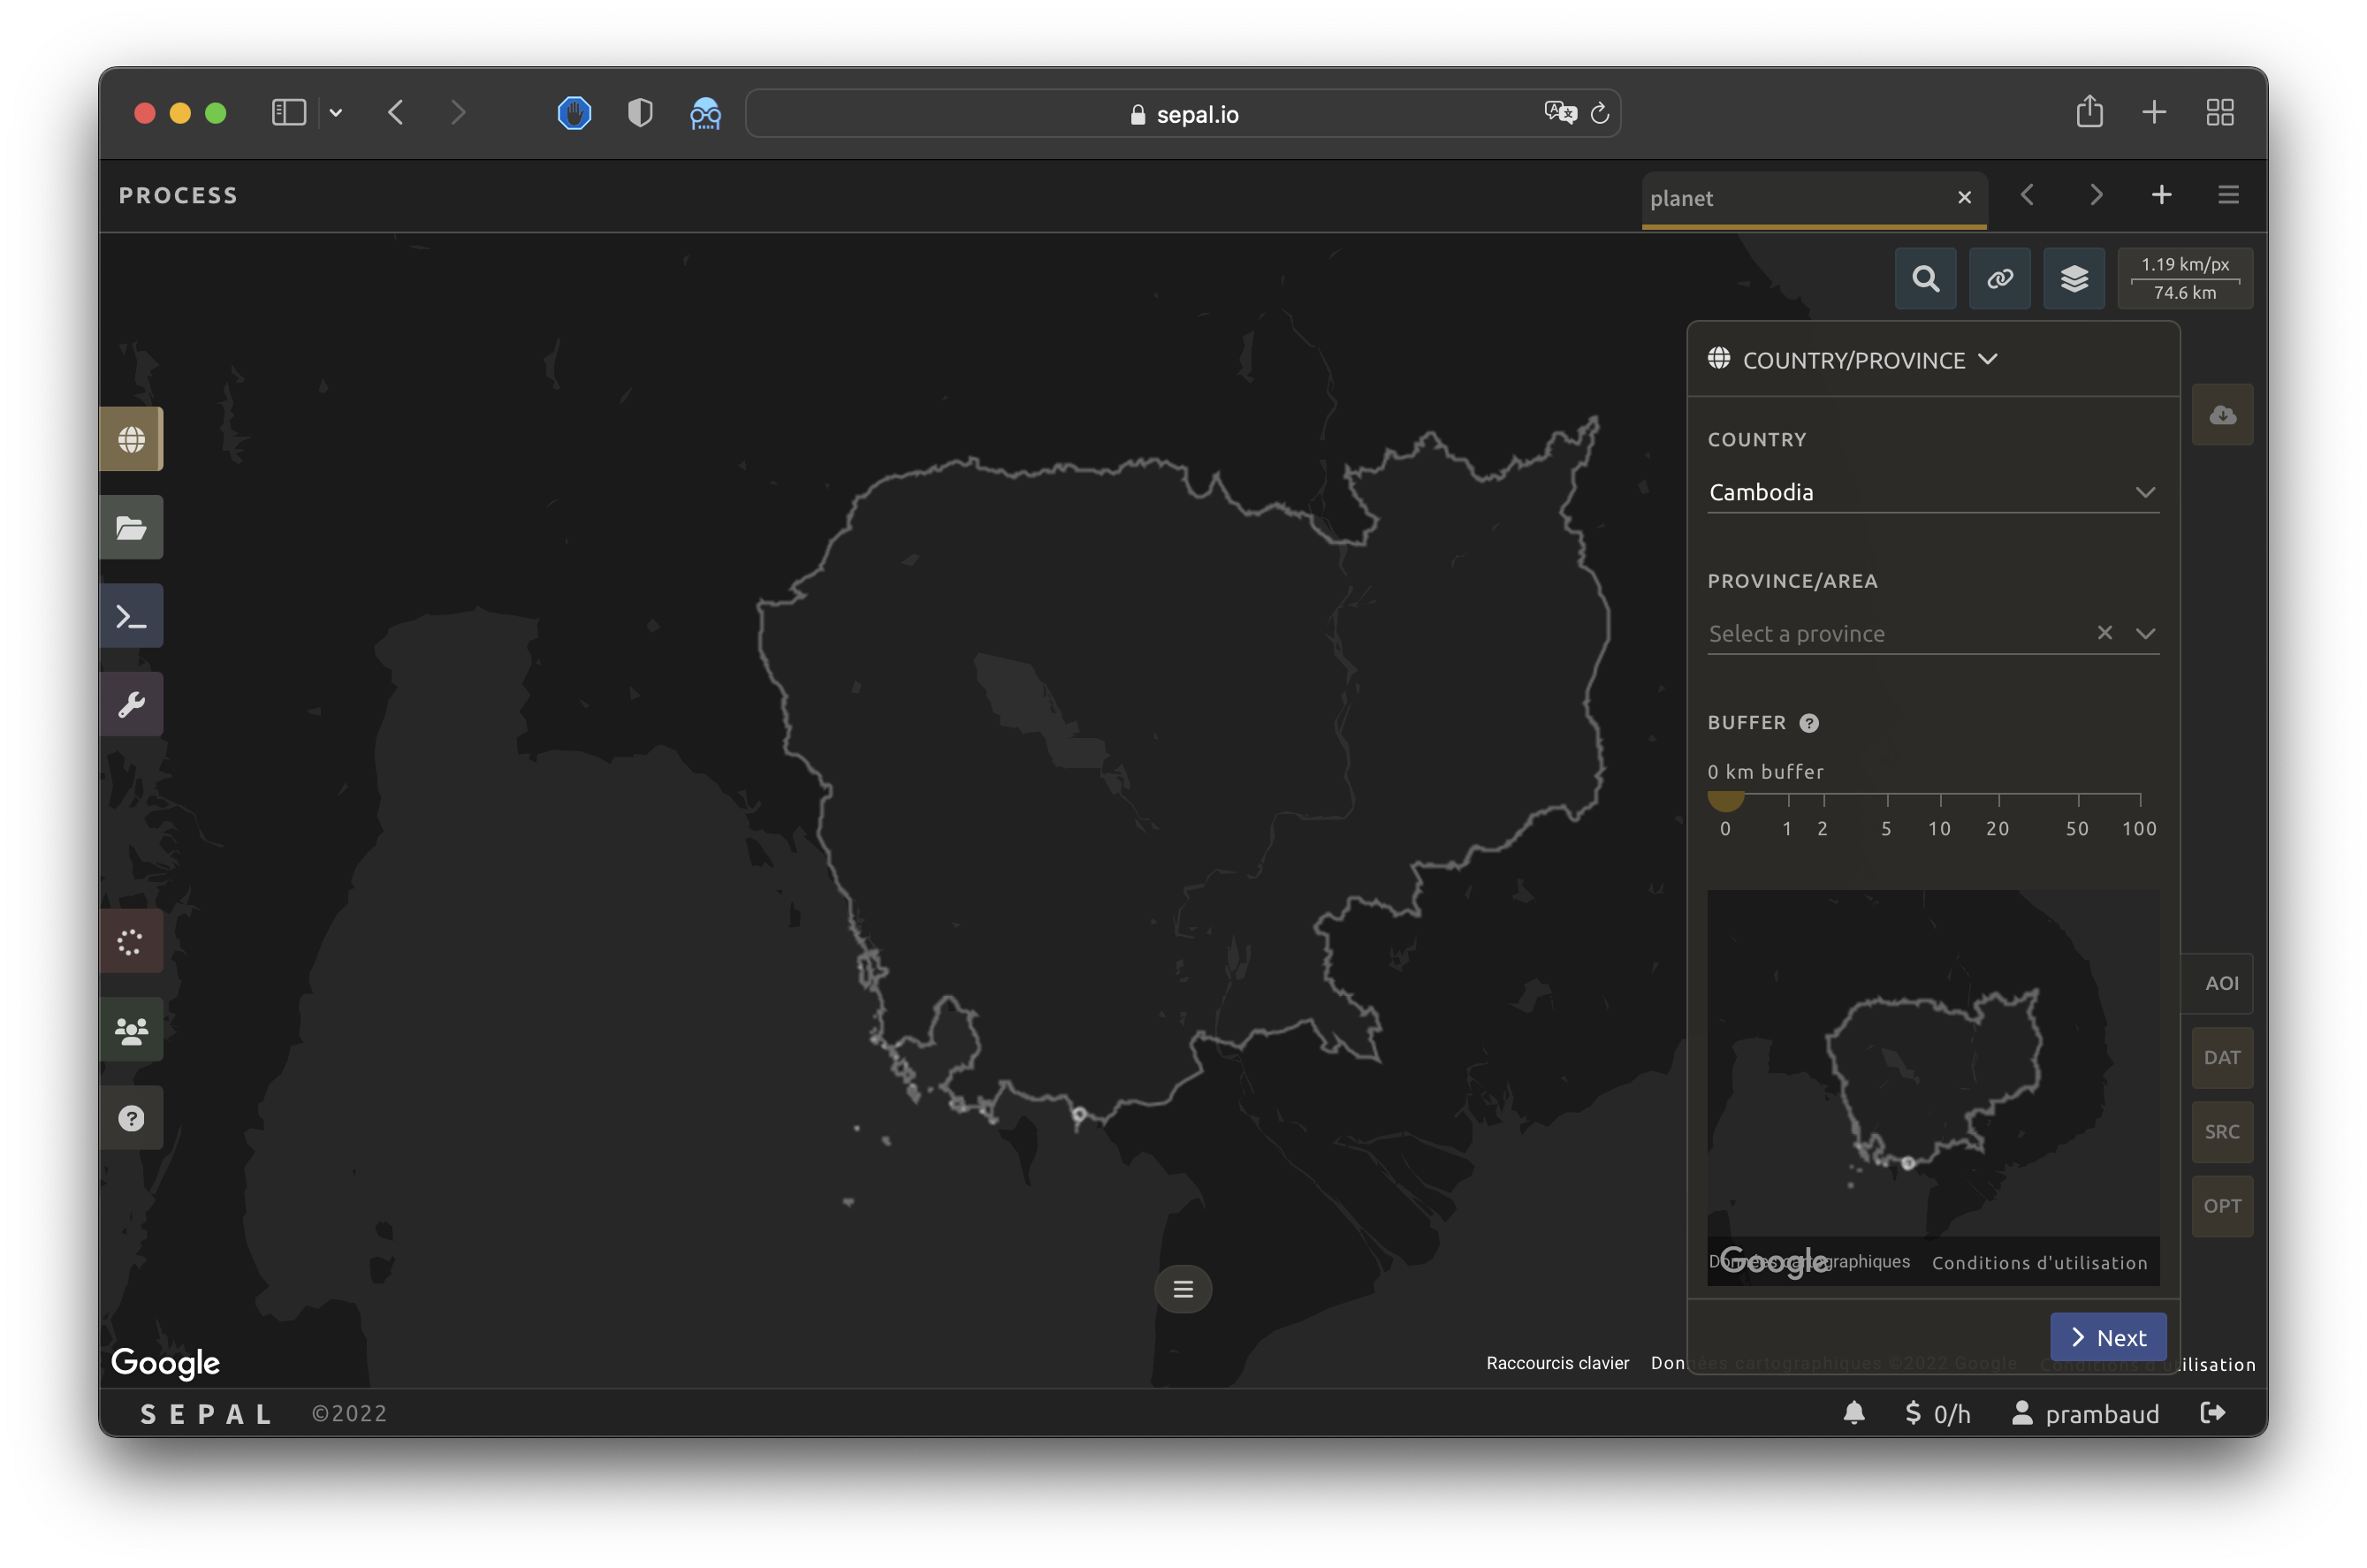
AOI selection#
The data exported by the recipe will be cut to the bounds of the AOI.
There are multiple ways to select the AOI in SEPAL:
administrative boundaries
EE Tables
drawn polygons
These are extensively described in our documentation (see AOI selection).
Date#
In the DAT tab, select the dates of the time series used to build the composited image (i.e. start date and end date).
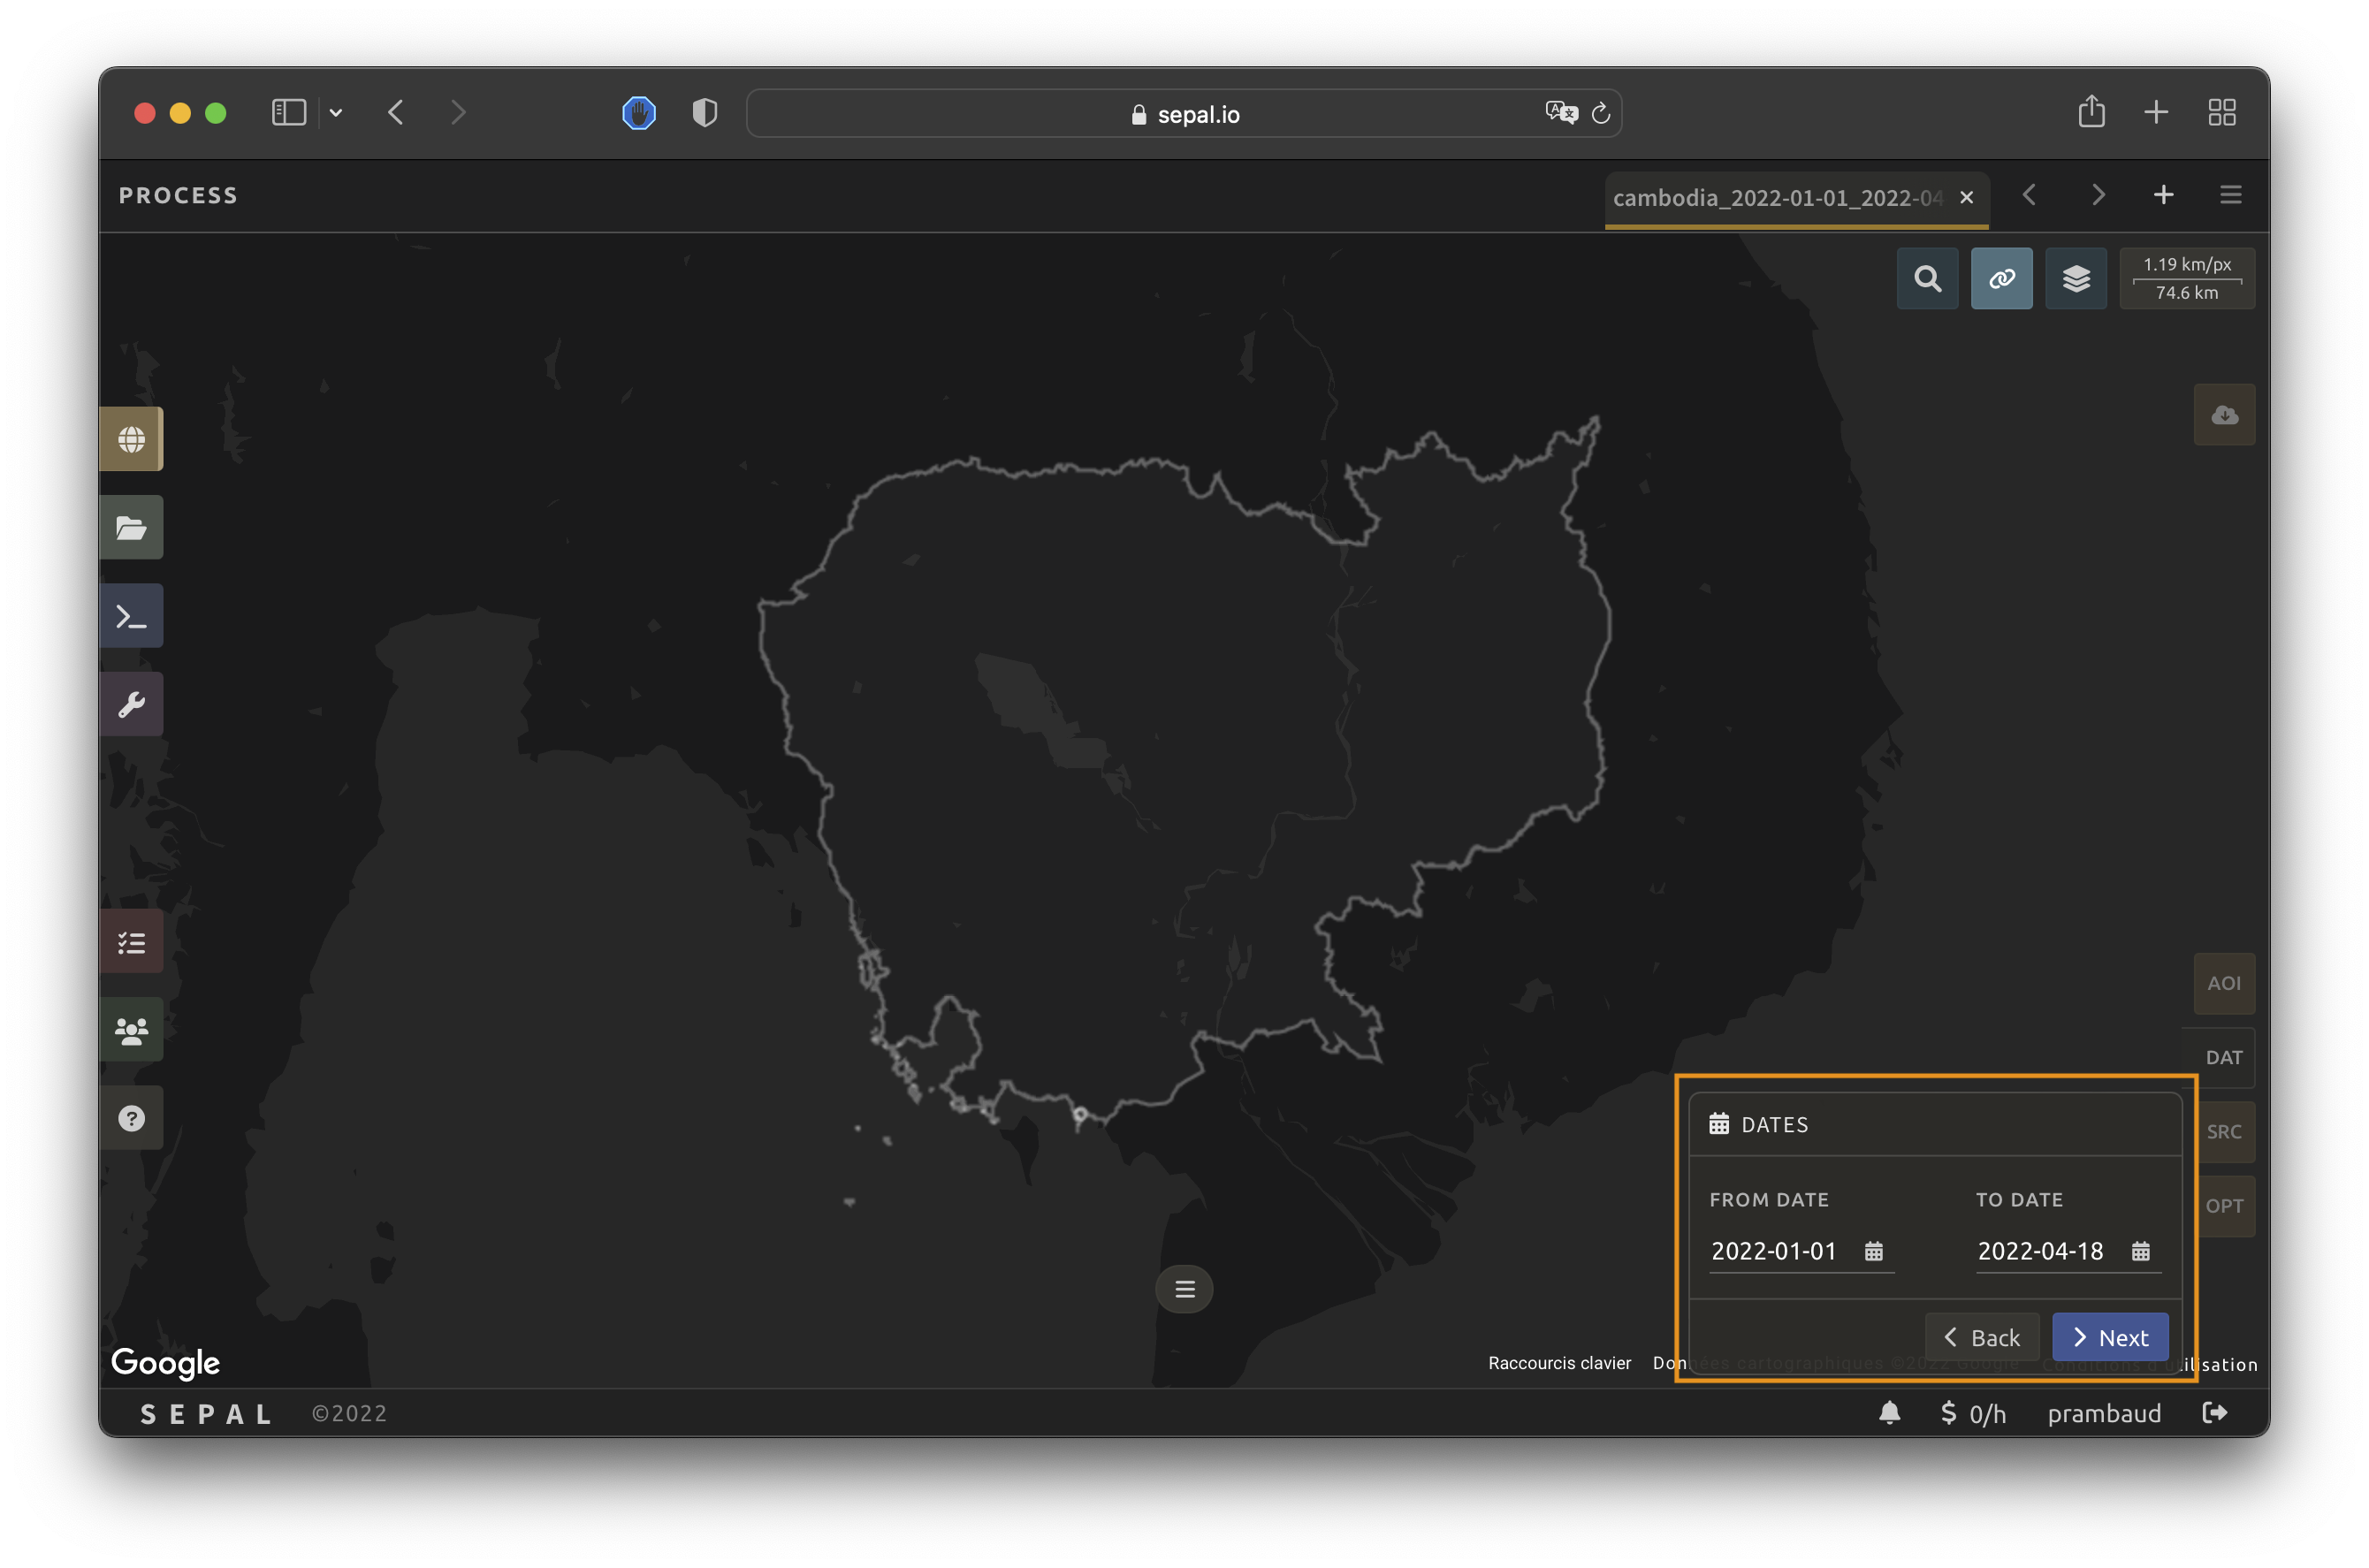
Select to choose your date.
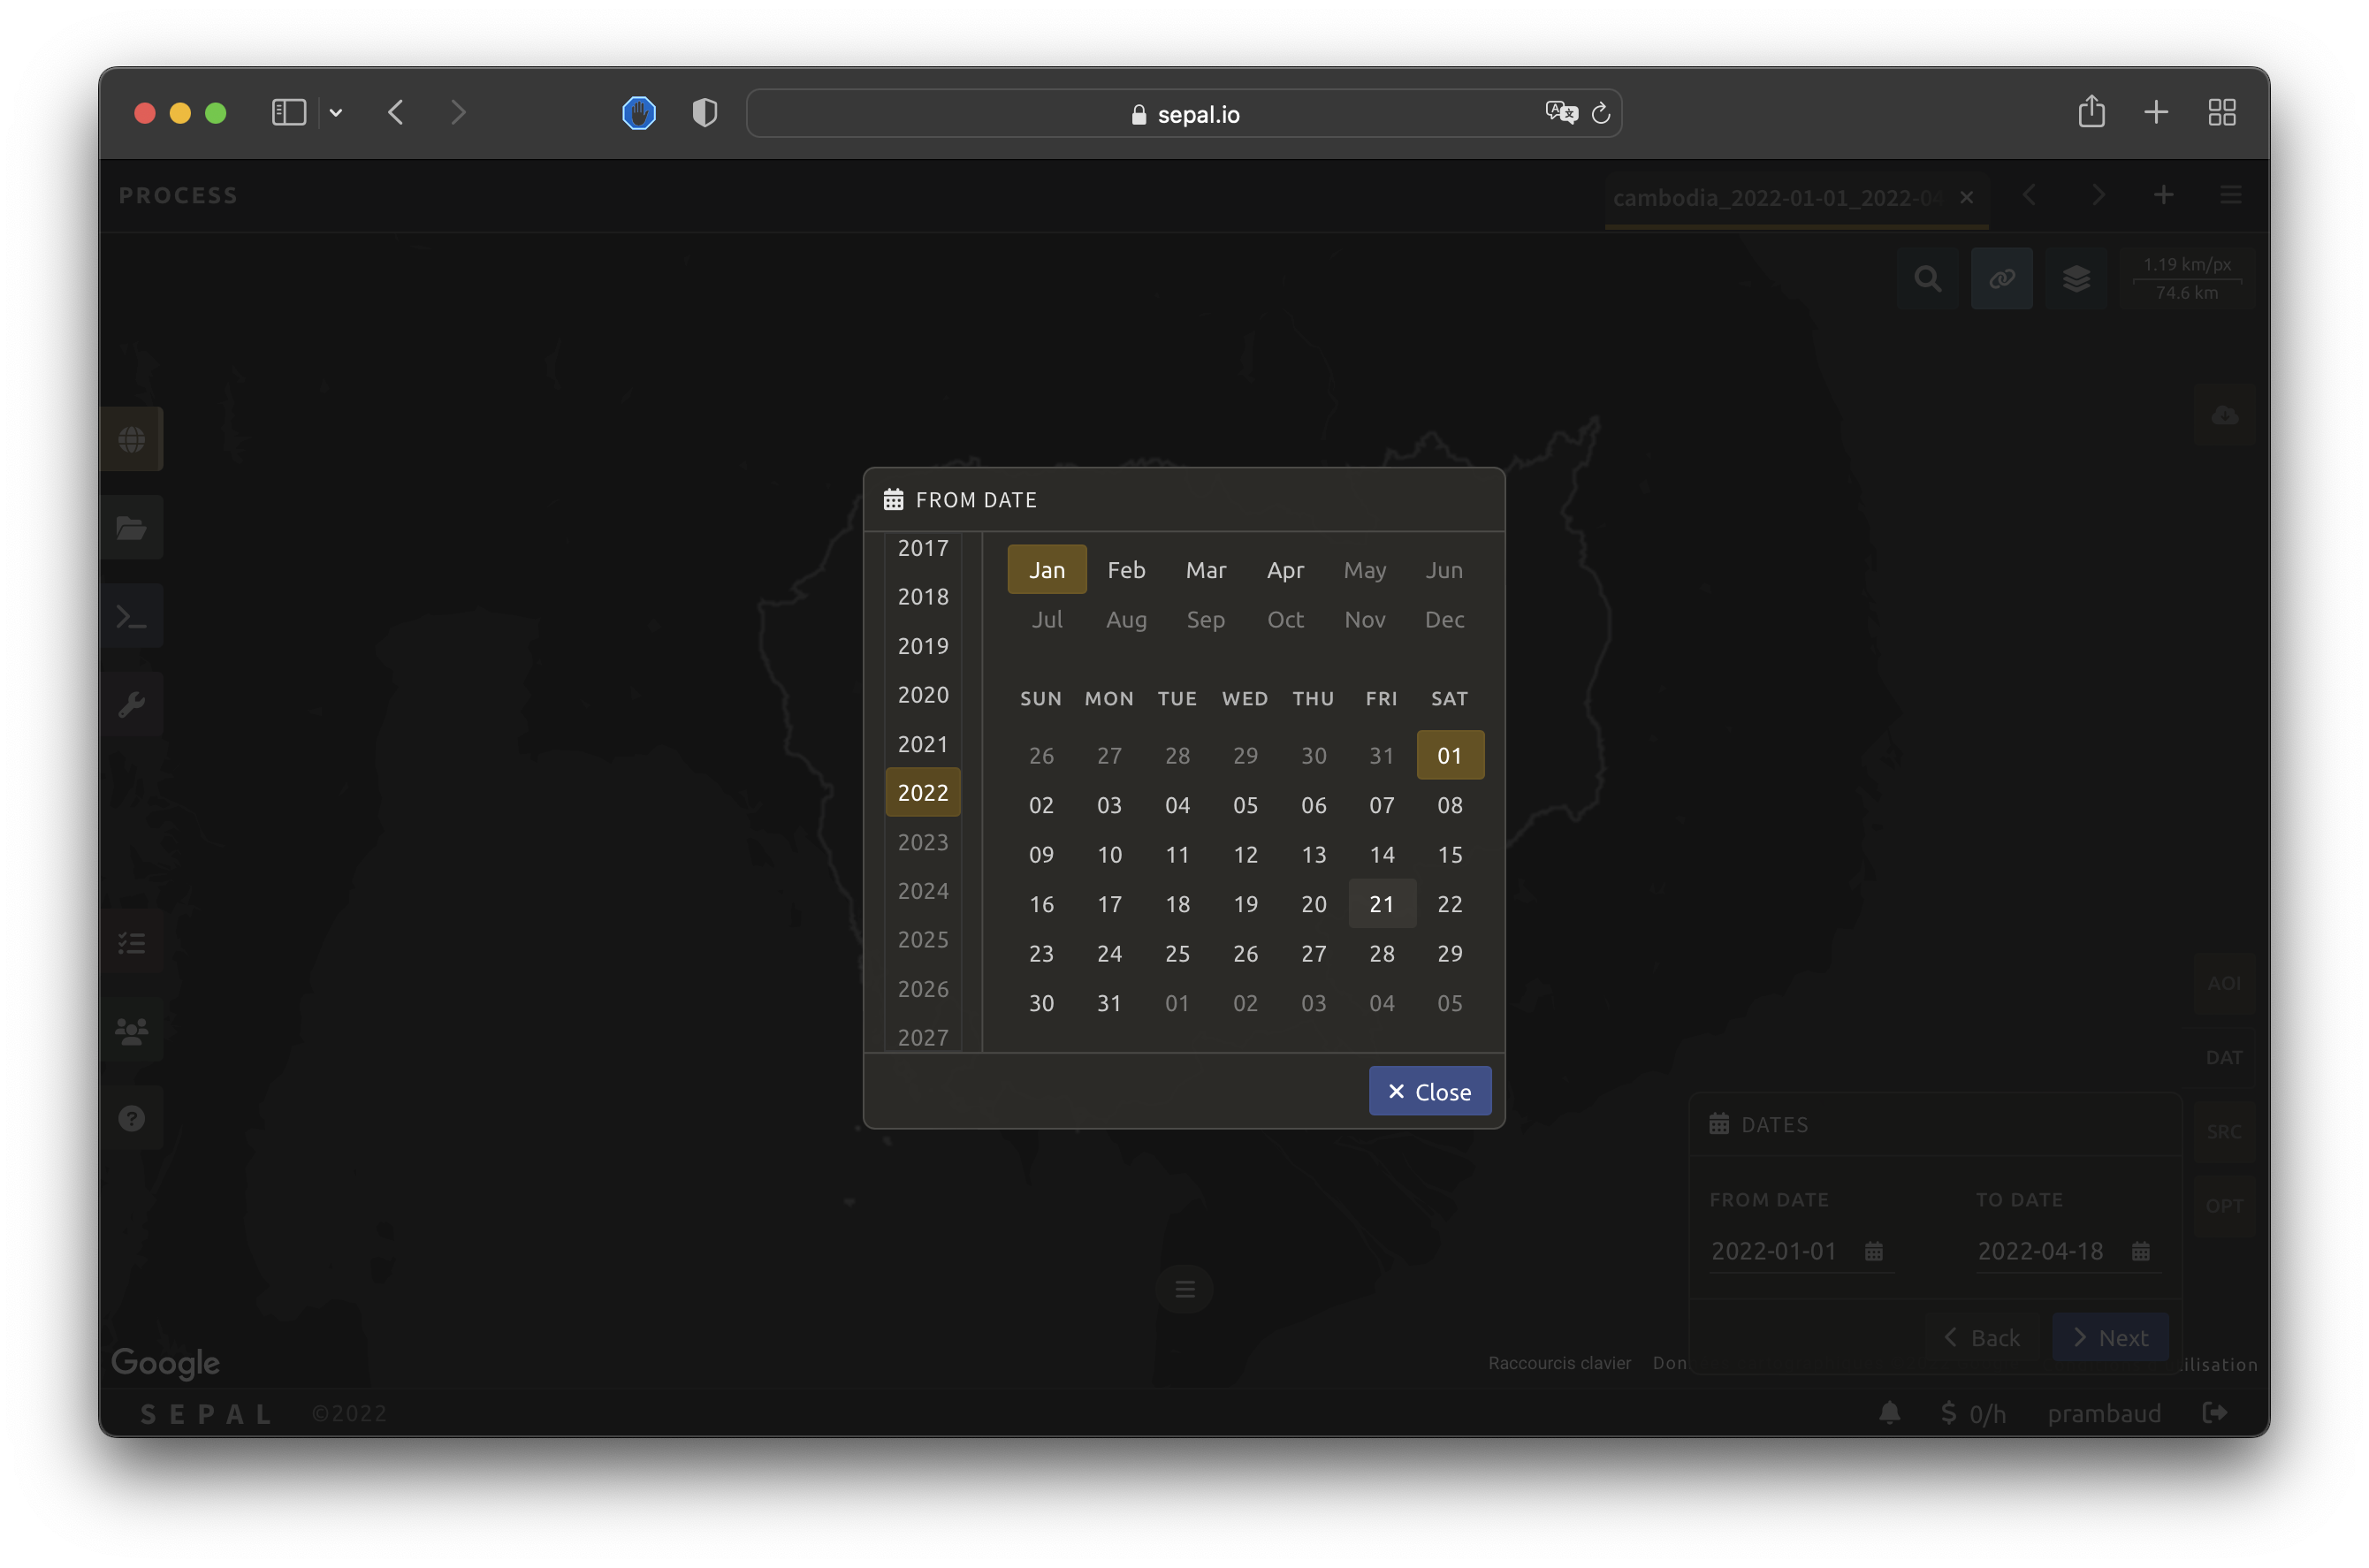
Then, select the Next button.
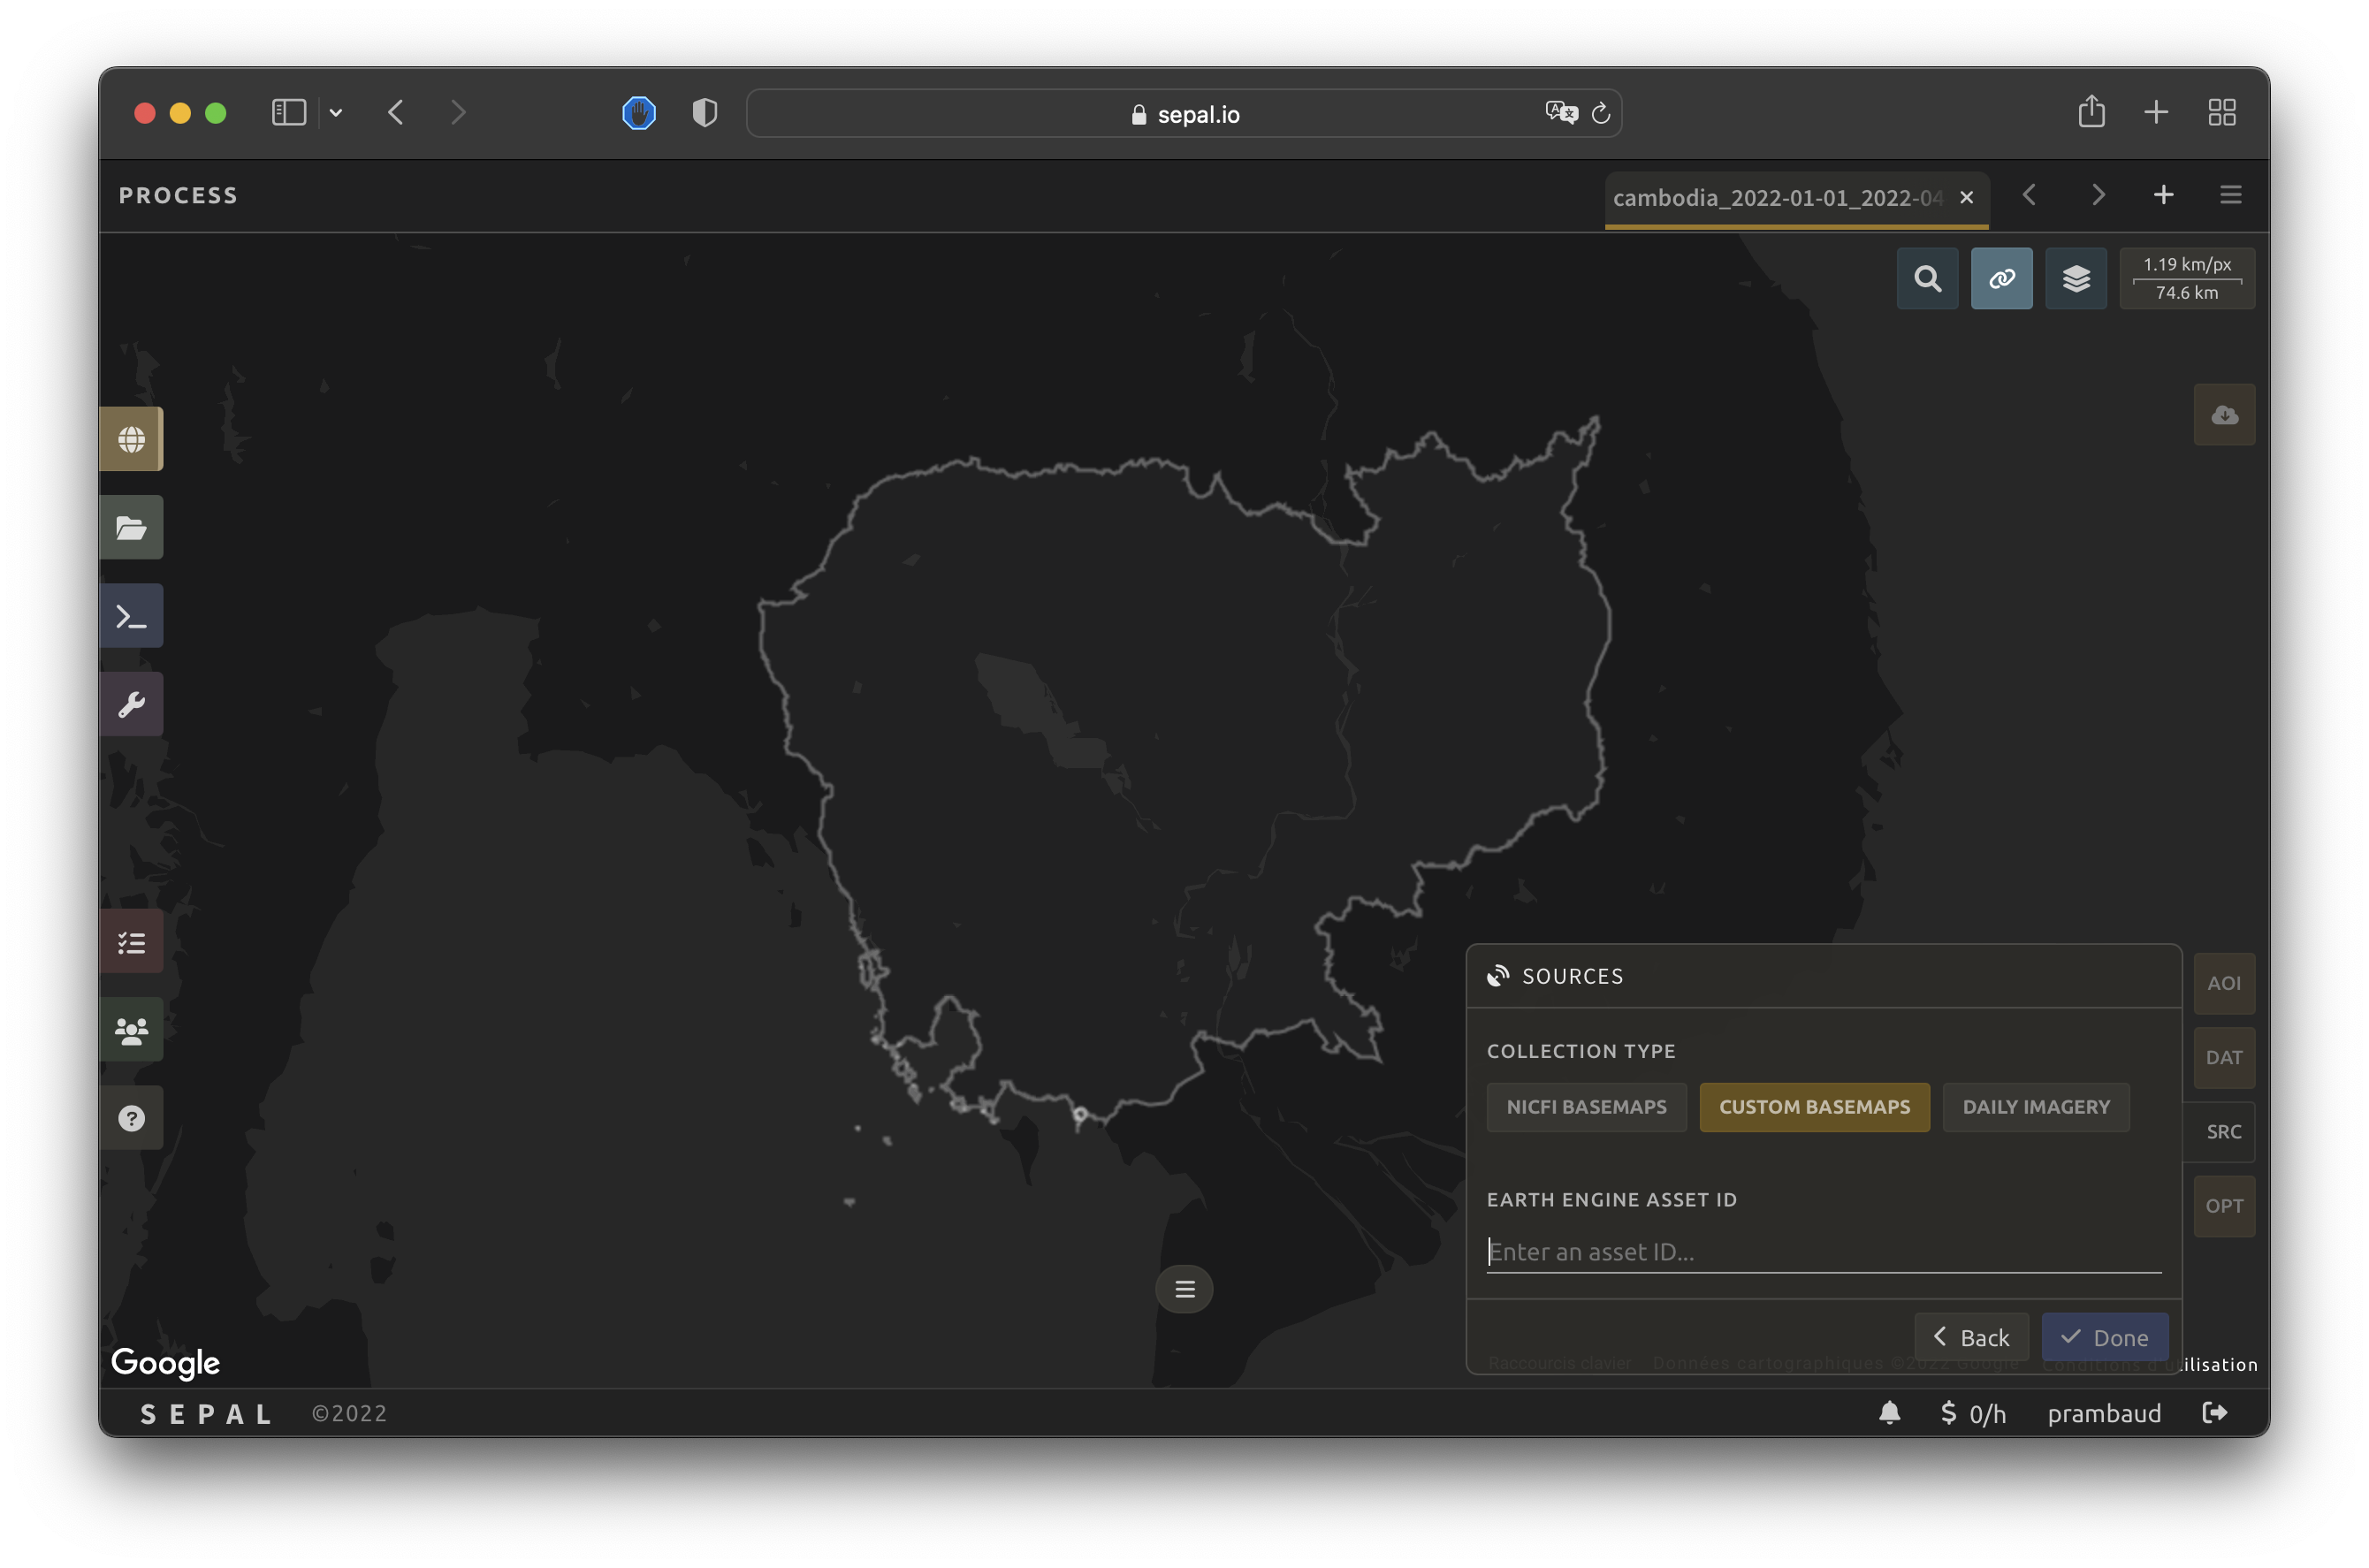
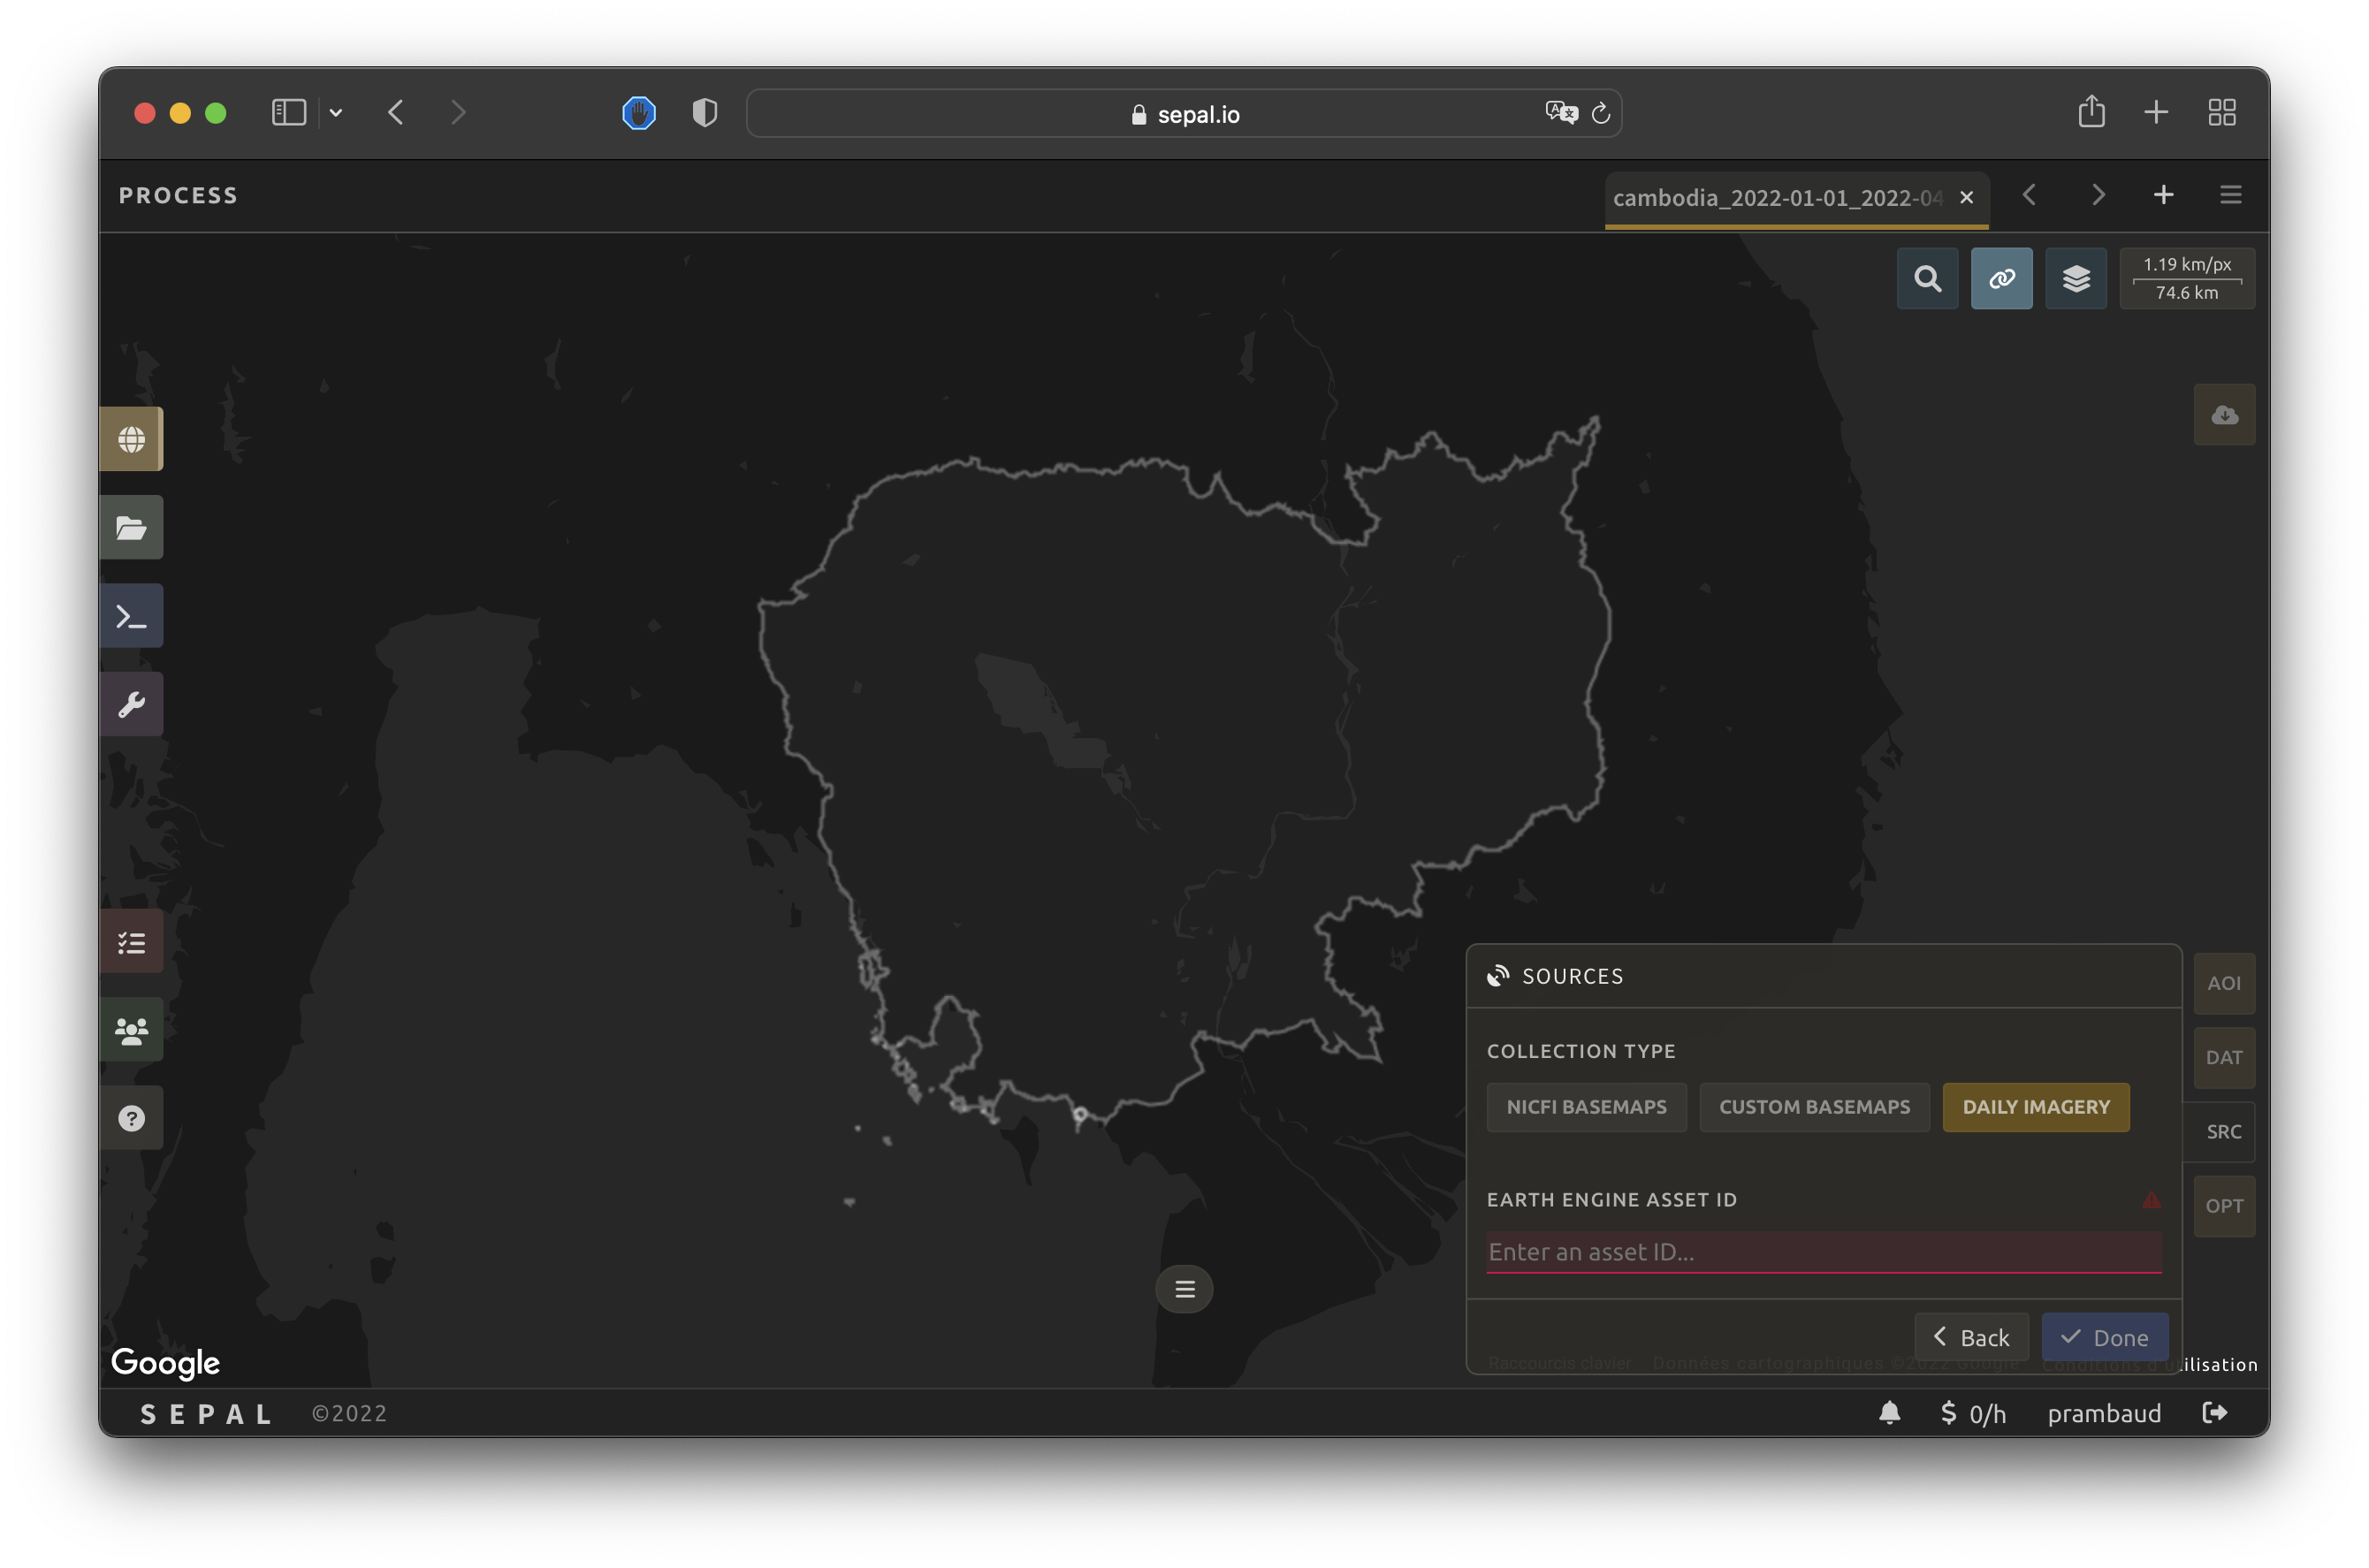
Sources#
SEPAL can use multiple data sources to create your mosaics/composites, as long as they are Planet-related datasets.
Three options are available:
NICFI basemaps
Custom basemaps
Daily imagery
Select Done to finish the process.
NICFI basemaps#
The NICFI basemap uses Level 1 NICFI data provided by SEPAL (NICFI refers to Norway’s International Climate and Forests Initiative).
Note
Since the data provided consists of monthly mosaics, your time range needs to be longer than one month (otherwise, only one image will be used).

Custom basemaps#
You can provide a custom ImageCollection Planet asset (such as NICFI Level 1 data provided to registered users).
Daily imagery#
Attention
Only users with access to NICFI Level 2 data can use this option.
Choose this option to provide custom Planet daily ImageCollection imagery.
Options#
Note
This step is not mandatory since Planet mosaics are already sanitized.
SEPAL provides options to customize images used to create the compositing mosaic; the selected parameter will be automatically applied to the analysis.
Select the Close button to complete customization.

Cloud masking#
Planet composites already remove clouds. Setting this parameter to a value greater than zero (0) will remove additional clouds using a GEE algorithm.
Shadow masking#
Planet composites already remove shadows. Setting this parameter to a greater value than zero (0) will remove additional shadows using a GEE algorithm.
Cloud buffering#
none: Only mask clouds. It might leave hazy pixels around masked clouds but will minimize the amount of masked pixels in the mosaic.
moderate: Mask an additional 120 m around each larger cloud. This helps prevent hazy pixels at the border of clouds from being included in the mosaic.
aggressive: Mask an additional 600 m around each larger cloud. This helps prevent hazy pixels at the borders of clouds from being included in the mosaic.
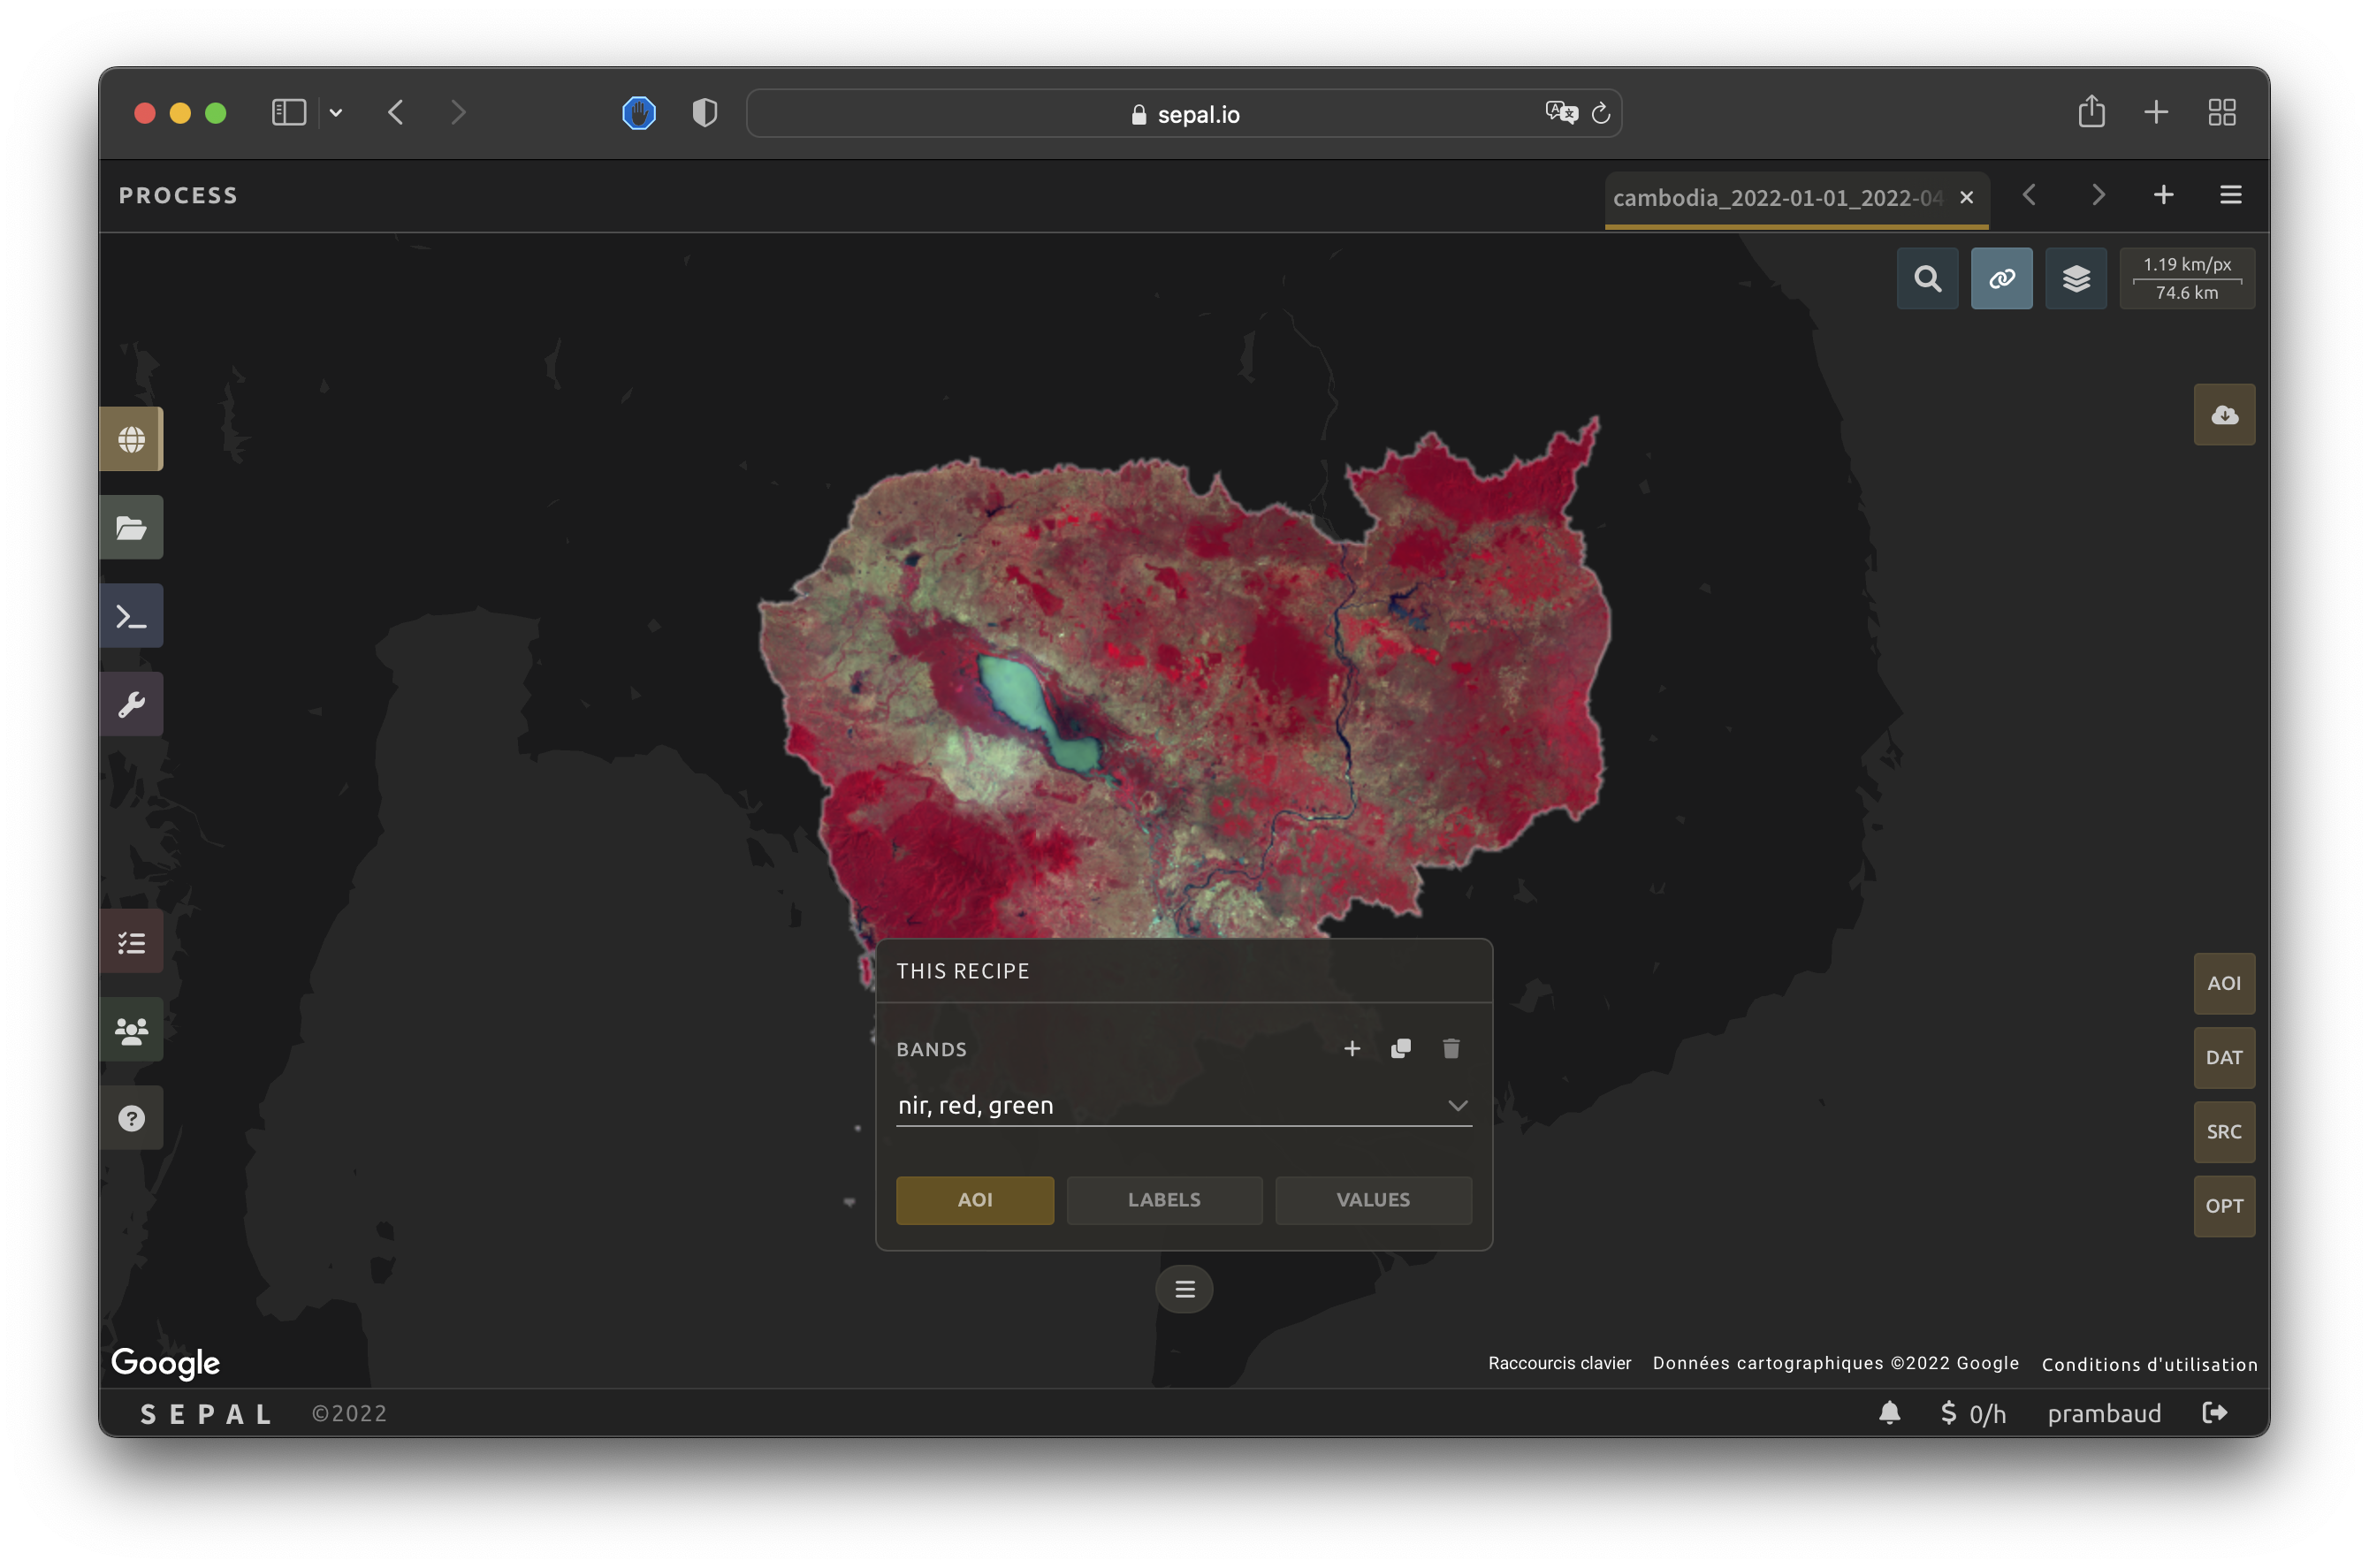
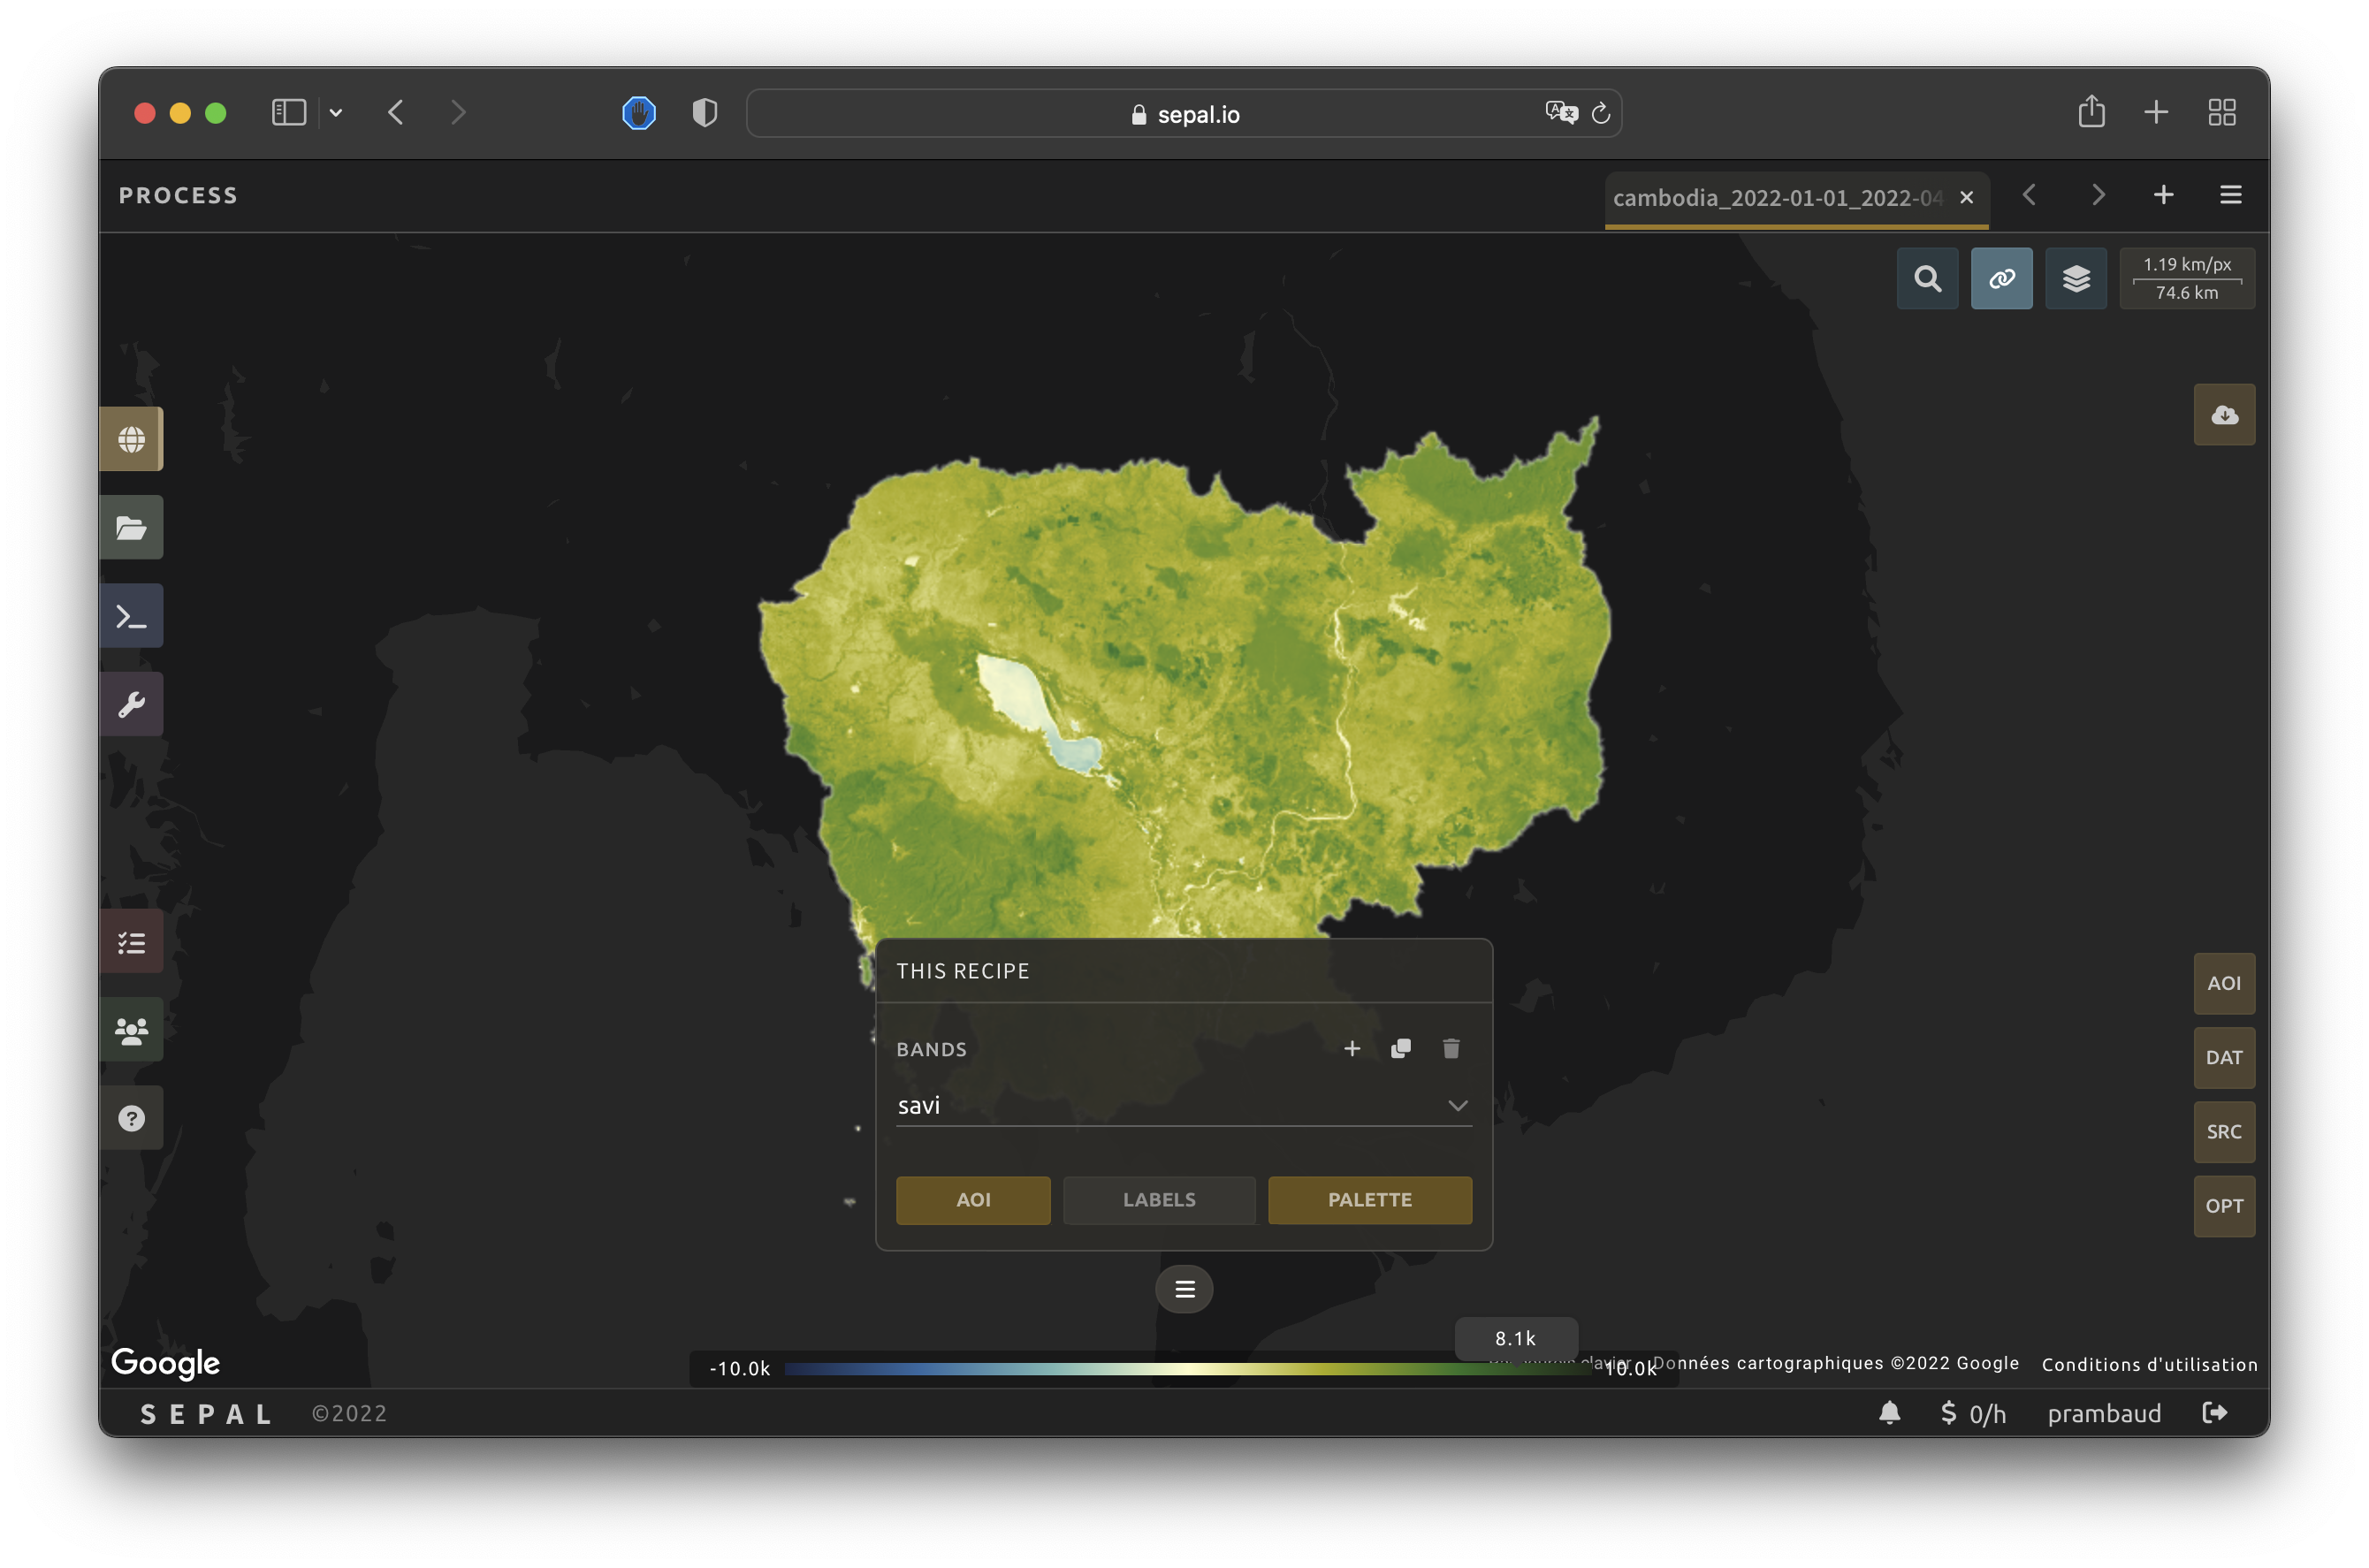
Analysis#
Once all of the parameters have been set, the mosaic will be rendered on the fly. Multiple color combinations can be displayed (see the following figures).


Retrieve#
Important
You cannot export a recipe as an asset or a .tiff file without a small computation quota (if you are a new user, see Manage your resources).
Select the tab, which will display the Retrieve pane, where you can select which bands or indexes to download, as well as specify the output scale and destination.
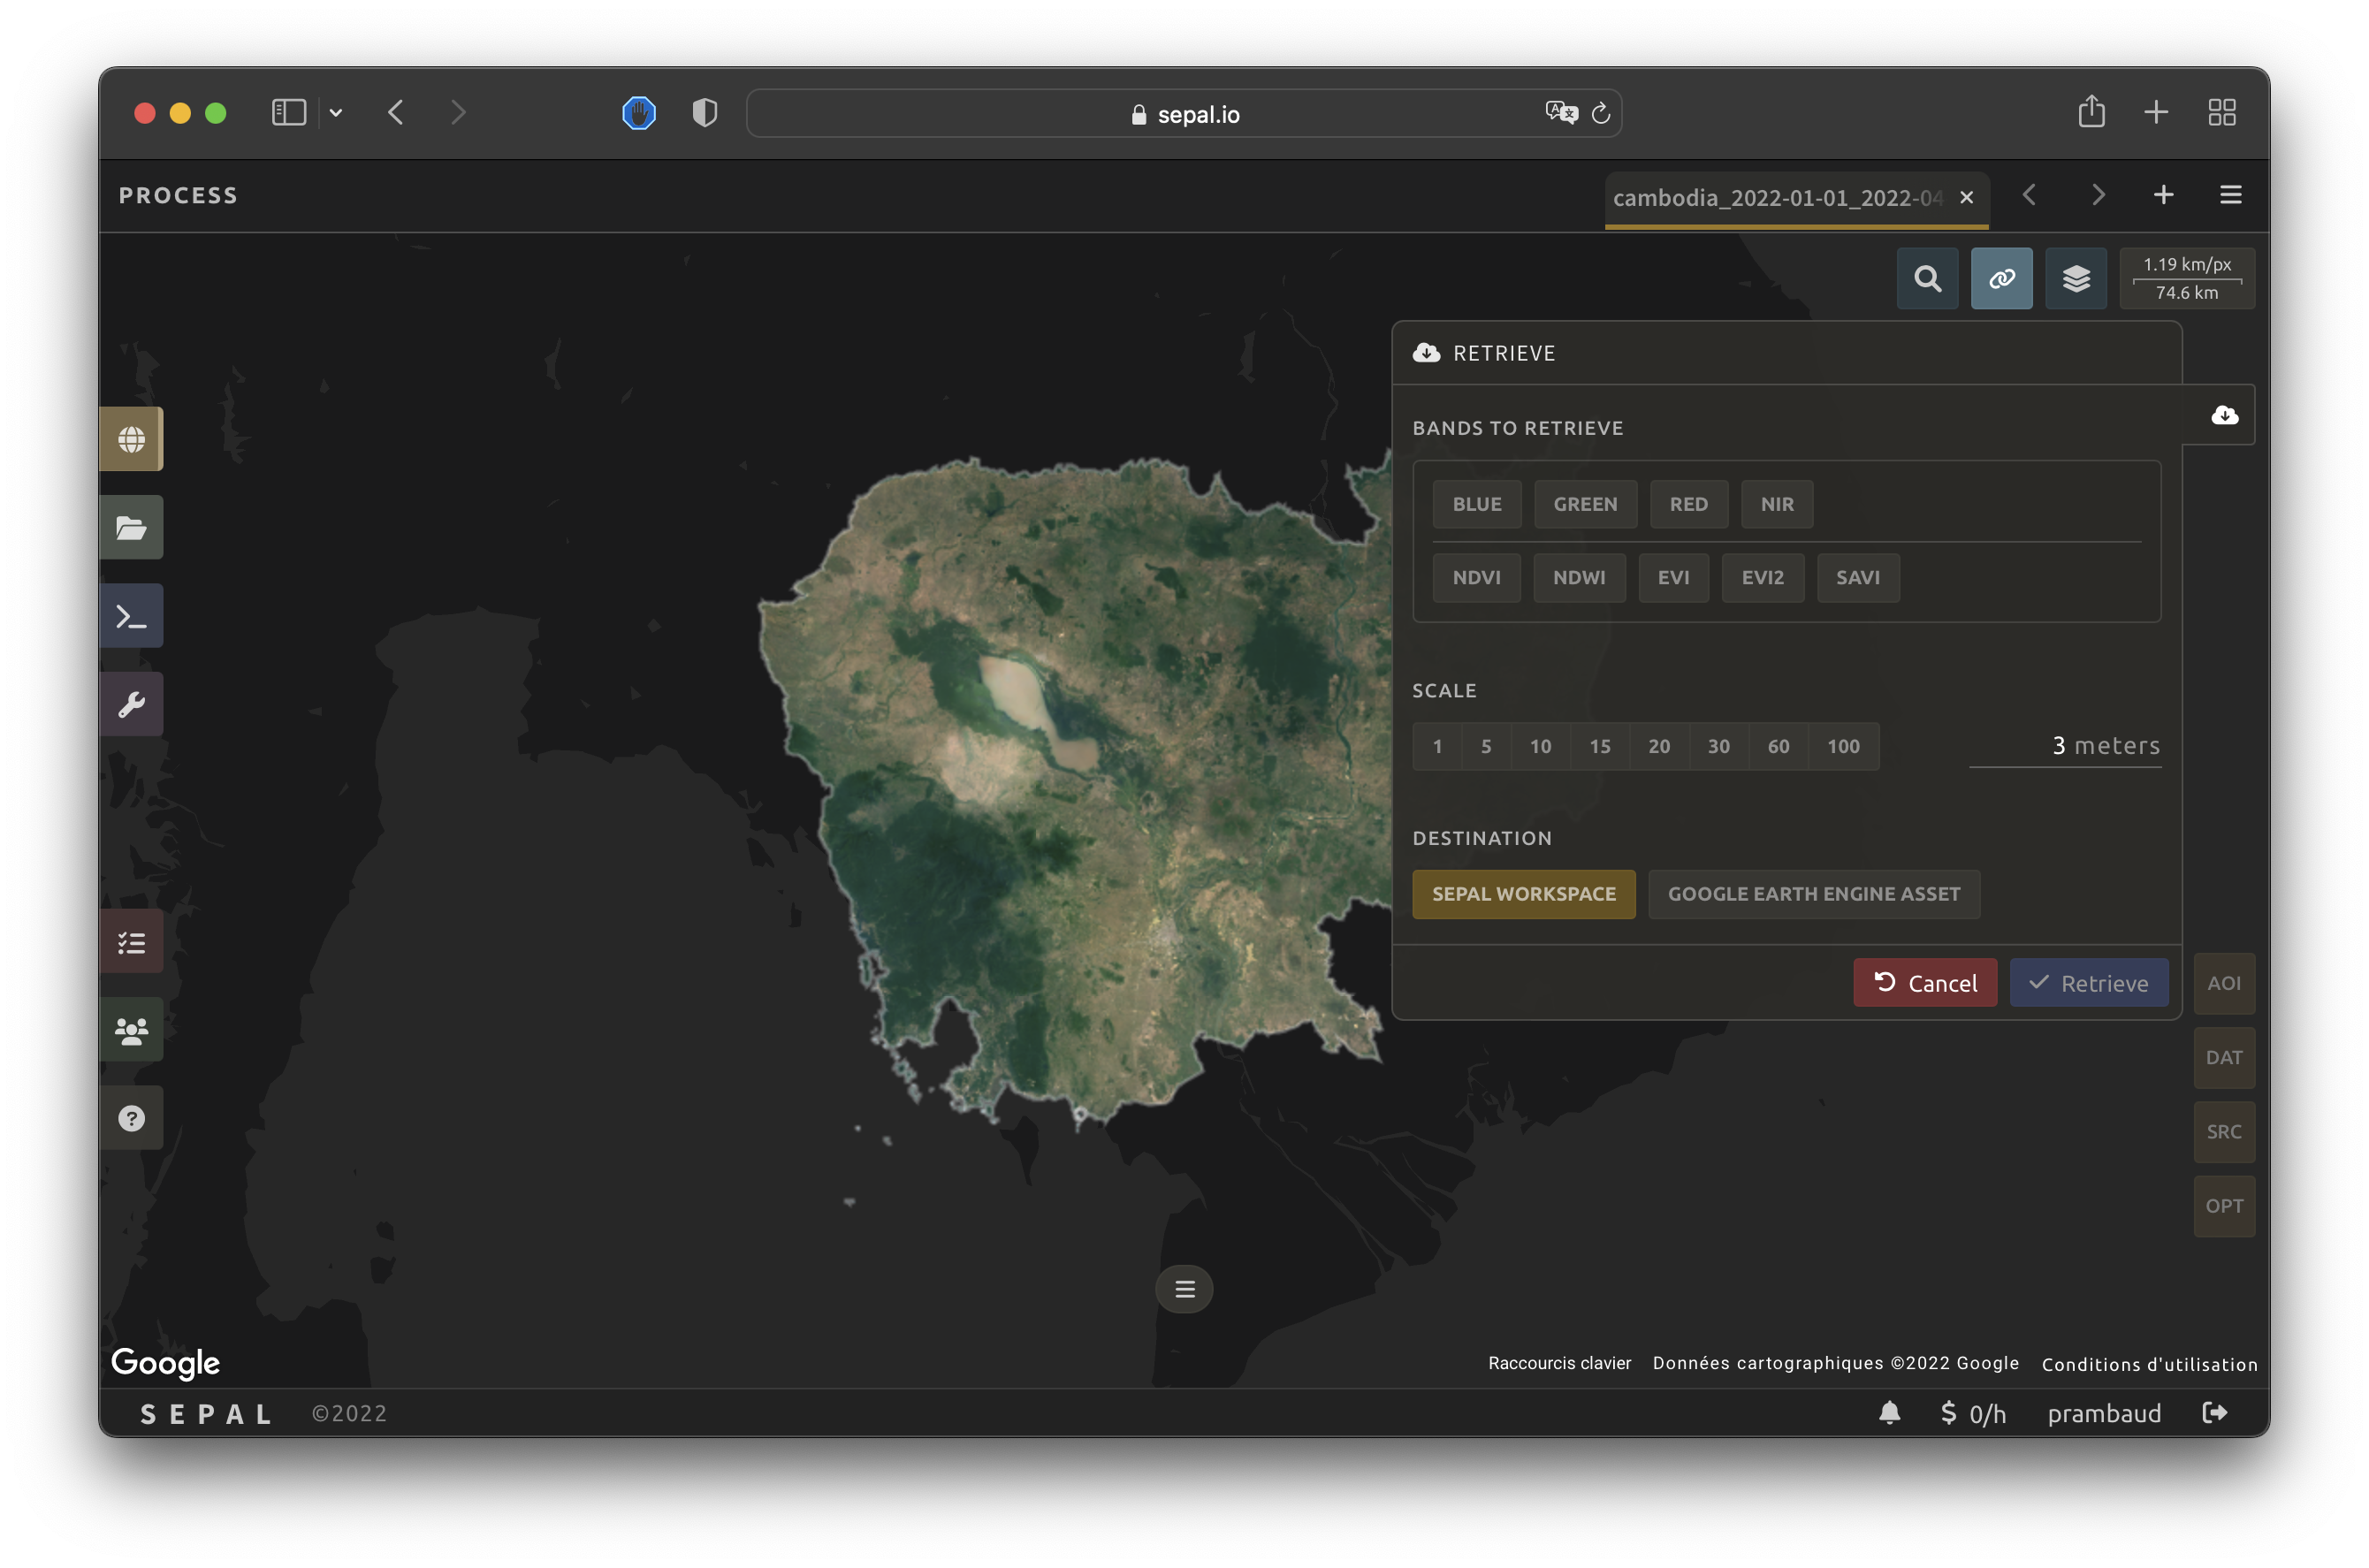
Bands#
Select the band(s) to export in the mosaic. There is no maximum number; however, exporting useless bands will increase the size and time of the output.
Tip
There is no fixed rule to band selection. Every index will be more useful to the type of analysis you are performing. The knowledge of the study area, evolution expected and careful selection of an adapted band combination will improve the quality of downstream analysis.
Raw bands#
blue: blue
green: green
red: red
nir: near-infrared
Indexes#
EVI2: Two-band EVI (Enhanced vegetation index)
Scale#
You can set a custom scale for exportation by changing the value in the Scale field. Requesting a smaller resolution than the image’s native resolution will not improve the quality of the output, only its size (note that PlanetLab data’s native resolution is 3.0–4.1 m [altitude-dependent ground sample distance; see more info]).
Destination#
You can export the mosaic composition to the SEPAL workspace or to :guilabel: GEE as an Asset.
In both cases, the same image will be exported; however, for the former, the image will be exported in .tif format to the Downloads SEPAL folder; for the latter, the image will be exported to your GEE account Assets list.
Attention
If GEE Asset is not displayed, your GEE account is not connected to SEPAL (see Connect SEPAL to GEE).
Select Apply to start the download process.
Access#
Once the download process is complete, access the data in your SEPAL folders, stored in Downloads in the following format:
.
└── downloads/
    └── <PM name>/
        ├── <PM name>_<gee tile id>.tif
        ├── <PM name>_<gee tile id>.tif
        ├── ...
        ├── <PM name>_<gee tile id>.tif
        └── <PM name>_<gee tile id>.vrt
Attention
Understanding how images are stored in a Planet mosaic is only required if you want to use them manually. SEPAL applications are bound to this tiling system and can digest this information for you.
The data are stored in a folder using the previously chosen name of the Planet mosaic (as described in the Start section of this article). Since the data is spatially too big to be exported at once, it is divided into smaller pieces and reassembled in a <PM name>_<gee tile id>.vrt file.
Tip
The full folder with consistent tree hierarchy is required to read the .vrt file.
Important
Now that you have downloaded the Planet mosaic to your SEPAL account and/or GEE account, it can be retrieved to your computer using FileZilla or used in other SEPAL workflows.