

Set up SSH keys#
Connect to SEPAL without entering your account password
Create an SSH key on your computer and register its public part in SEPAL. You can then use it with any SSH client, including the tools described in Connect to a session over SSH. If you already have a key on your computer, skip the first step.
In a local terminal (PowerShell on Windows, Terminal on macOS or Linux), create a key:
ssh-keygen -t ed25519 -C "sepal"Accept the default location and choose a passphrase. Do not overwrite an existing key. This creates a private key,
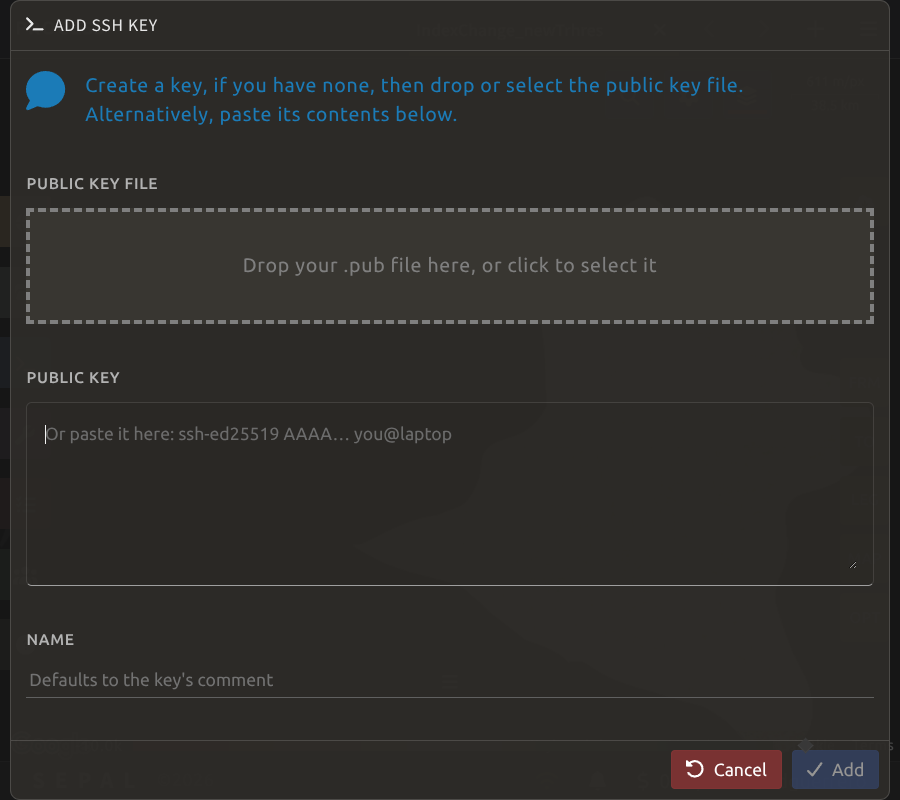
id_ed25519, and a public key,id_ed25519.pub, in your user’s.sshfolder.In SEPAL, open your user menu, select SSH keys, then Add. Select or drop the
id_ed25519.pubfile, or paste its contents into Public key. Give it a recognizable Name, then select Add.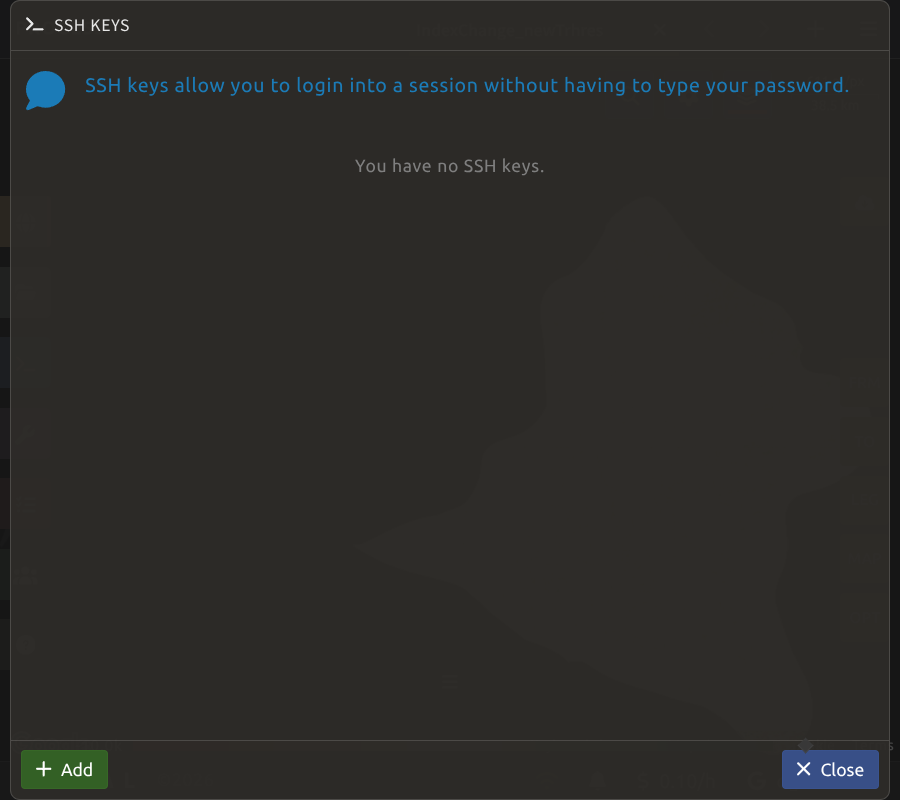
Connect to your SEPAL session using your SSH client. SSH uses the default key automatically; you may be prompted for its passphrase. If you saved the key elsewhere, add
IdentityFile /path/to/your/private/keyto the host’s SSH configuration.
Note
Upload only the public .pub file. Keep the private key on your computer.
On Windows, use the key and configuration belonging to the SSH client
used by VS Code; keys created inside WSL are stored separately from
Windows keys.