

Python#
Usage#
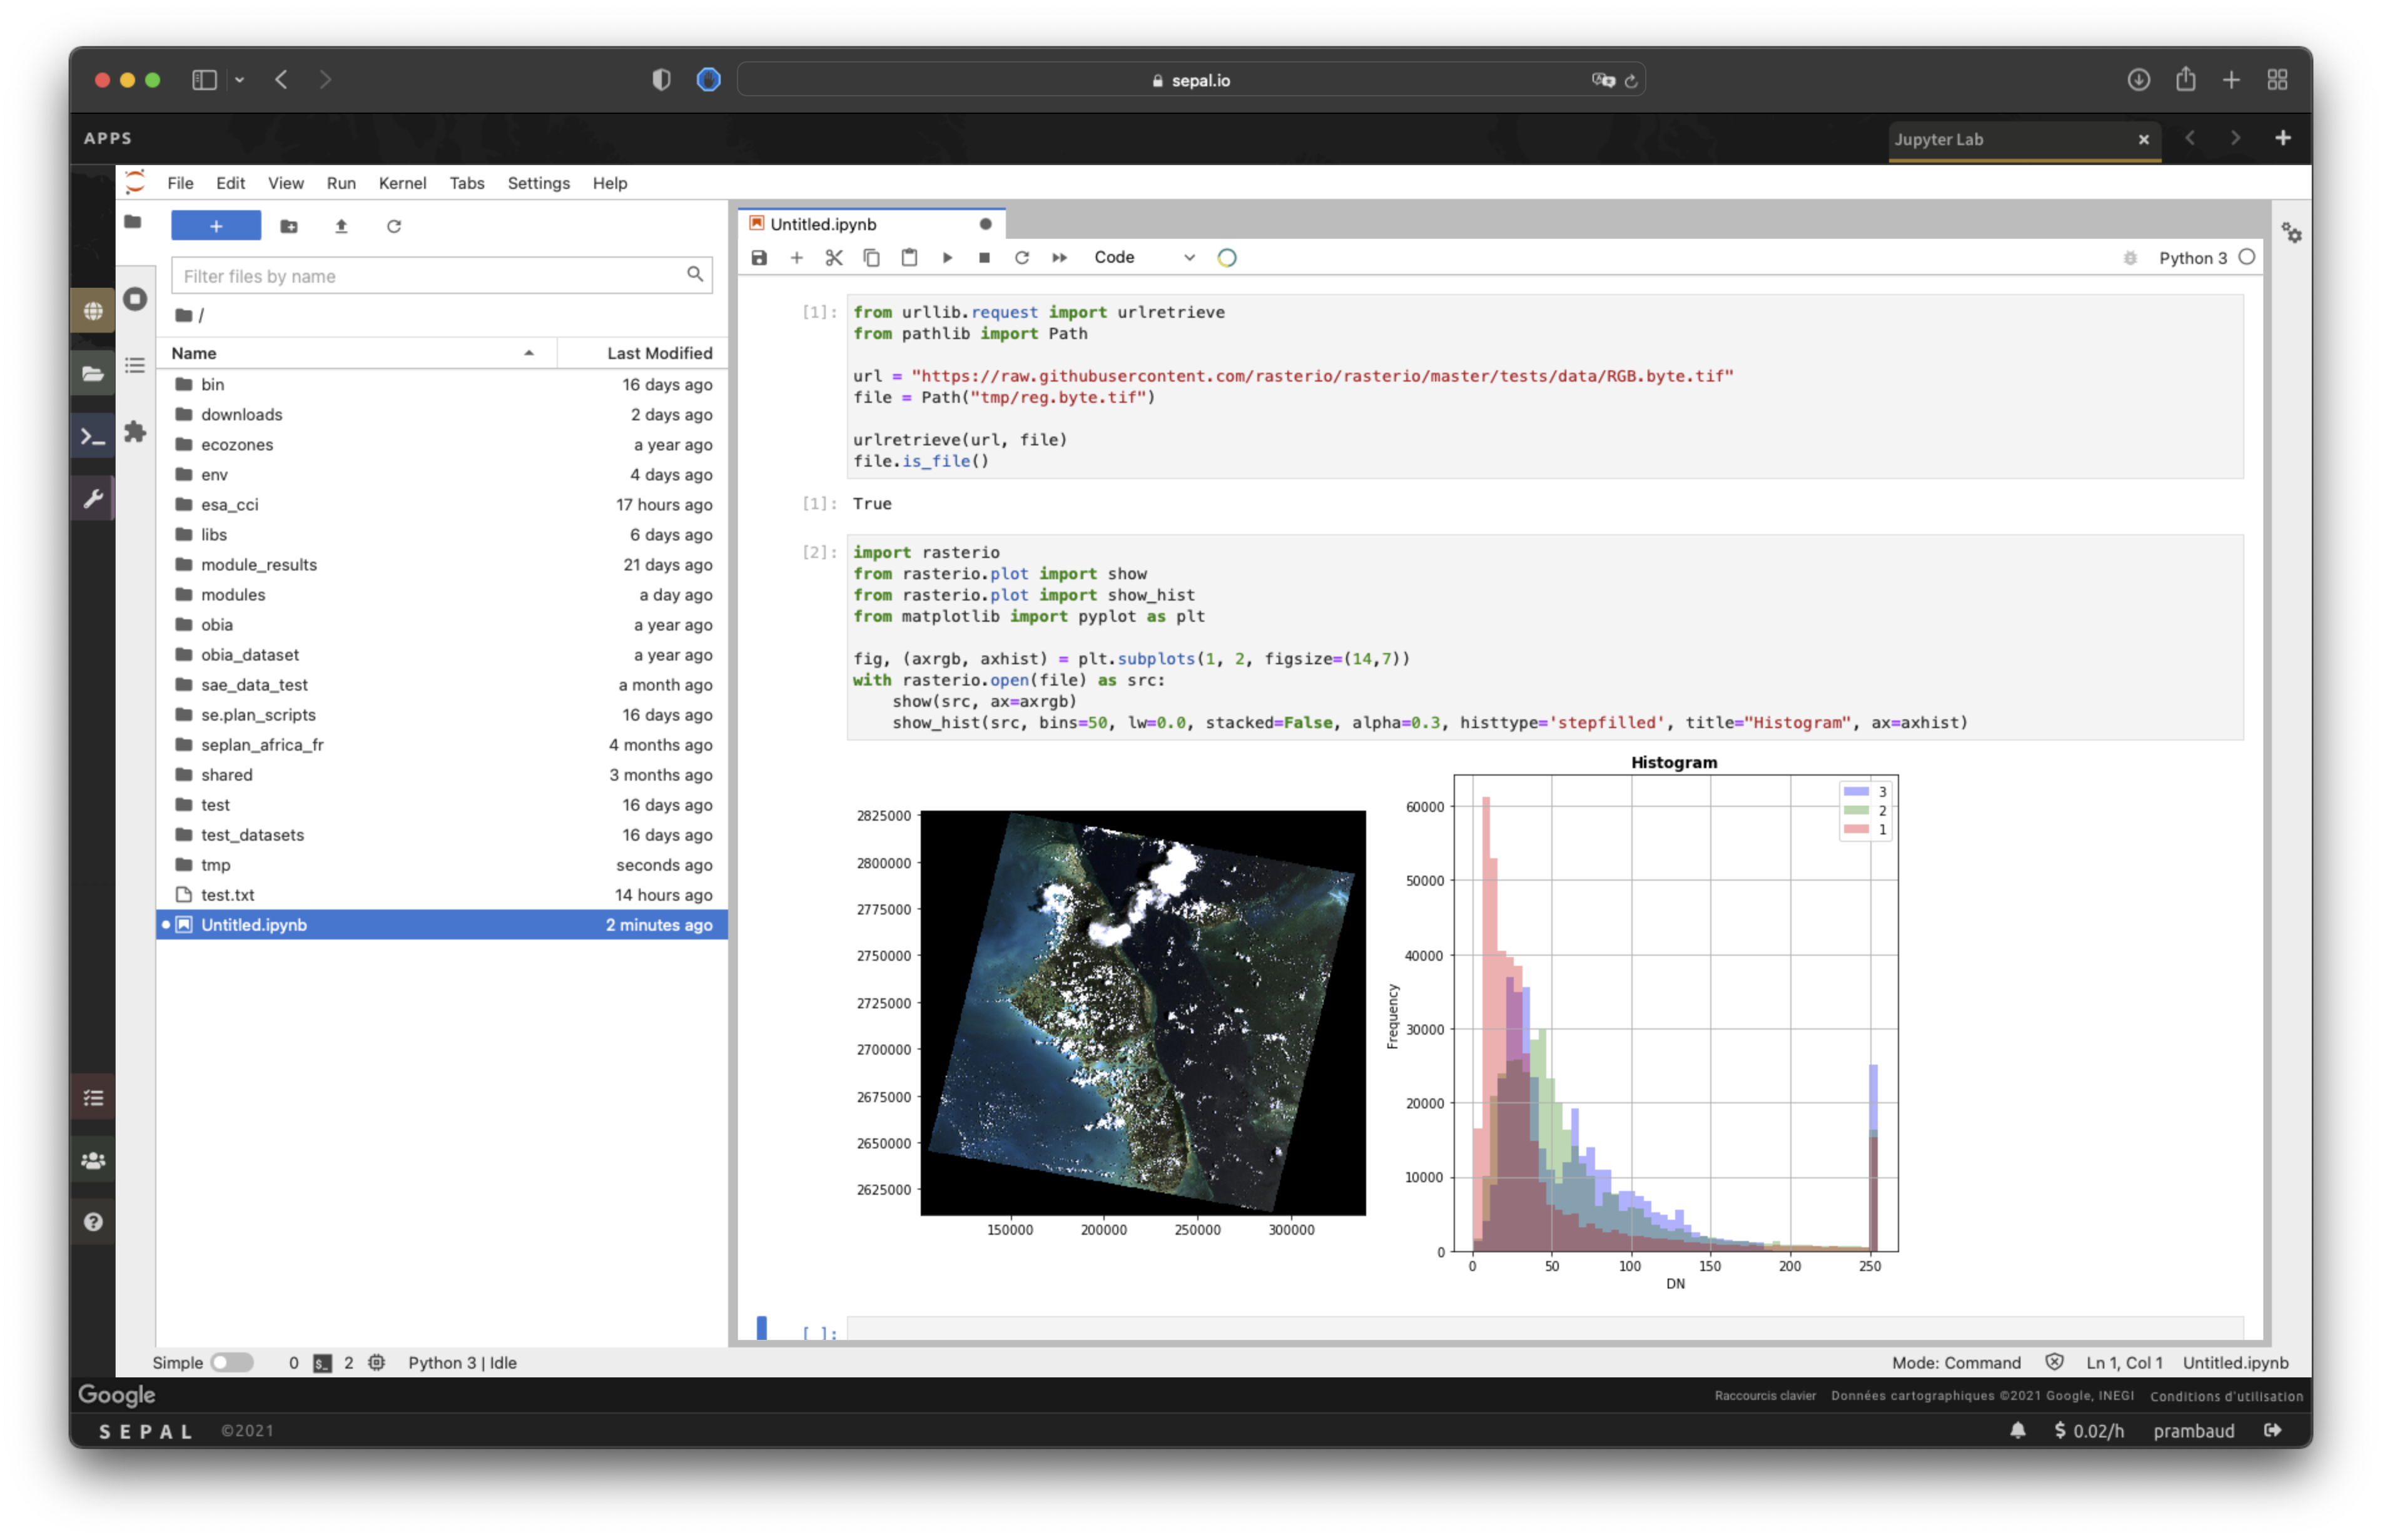
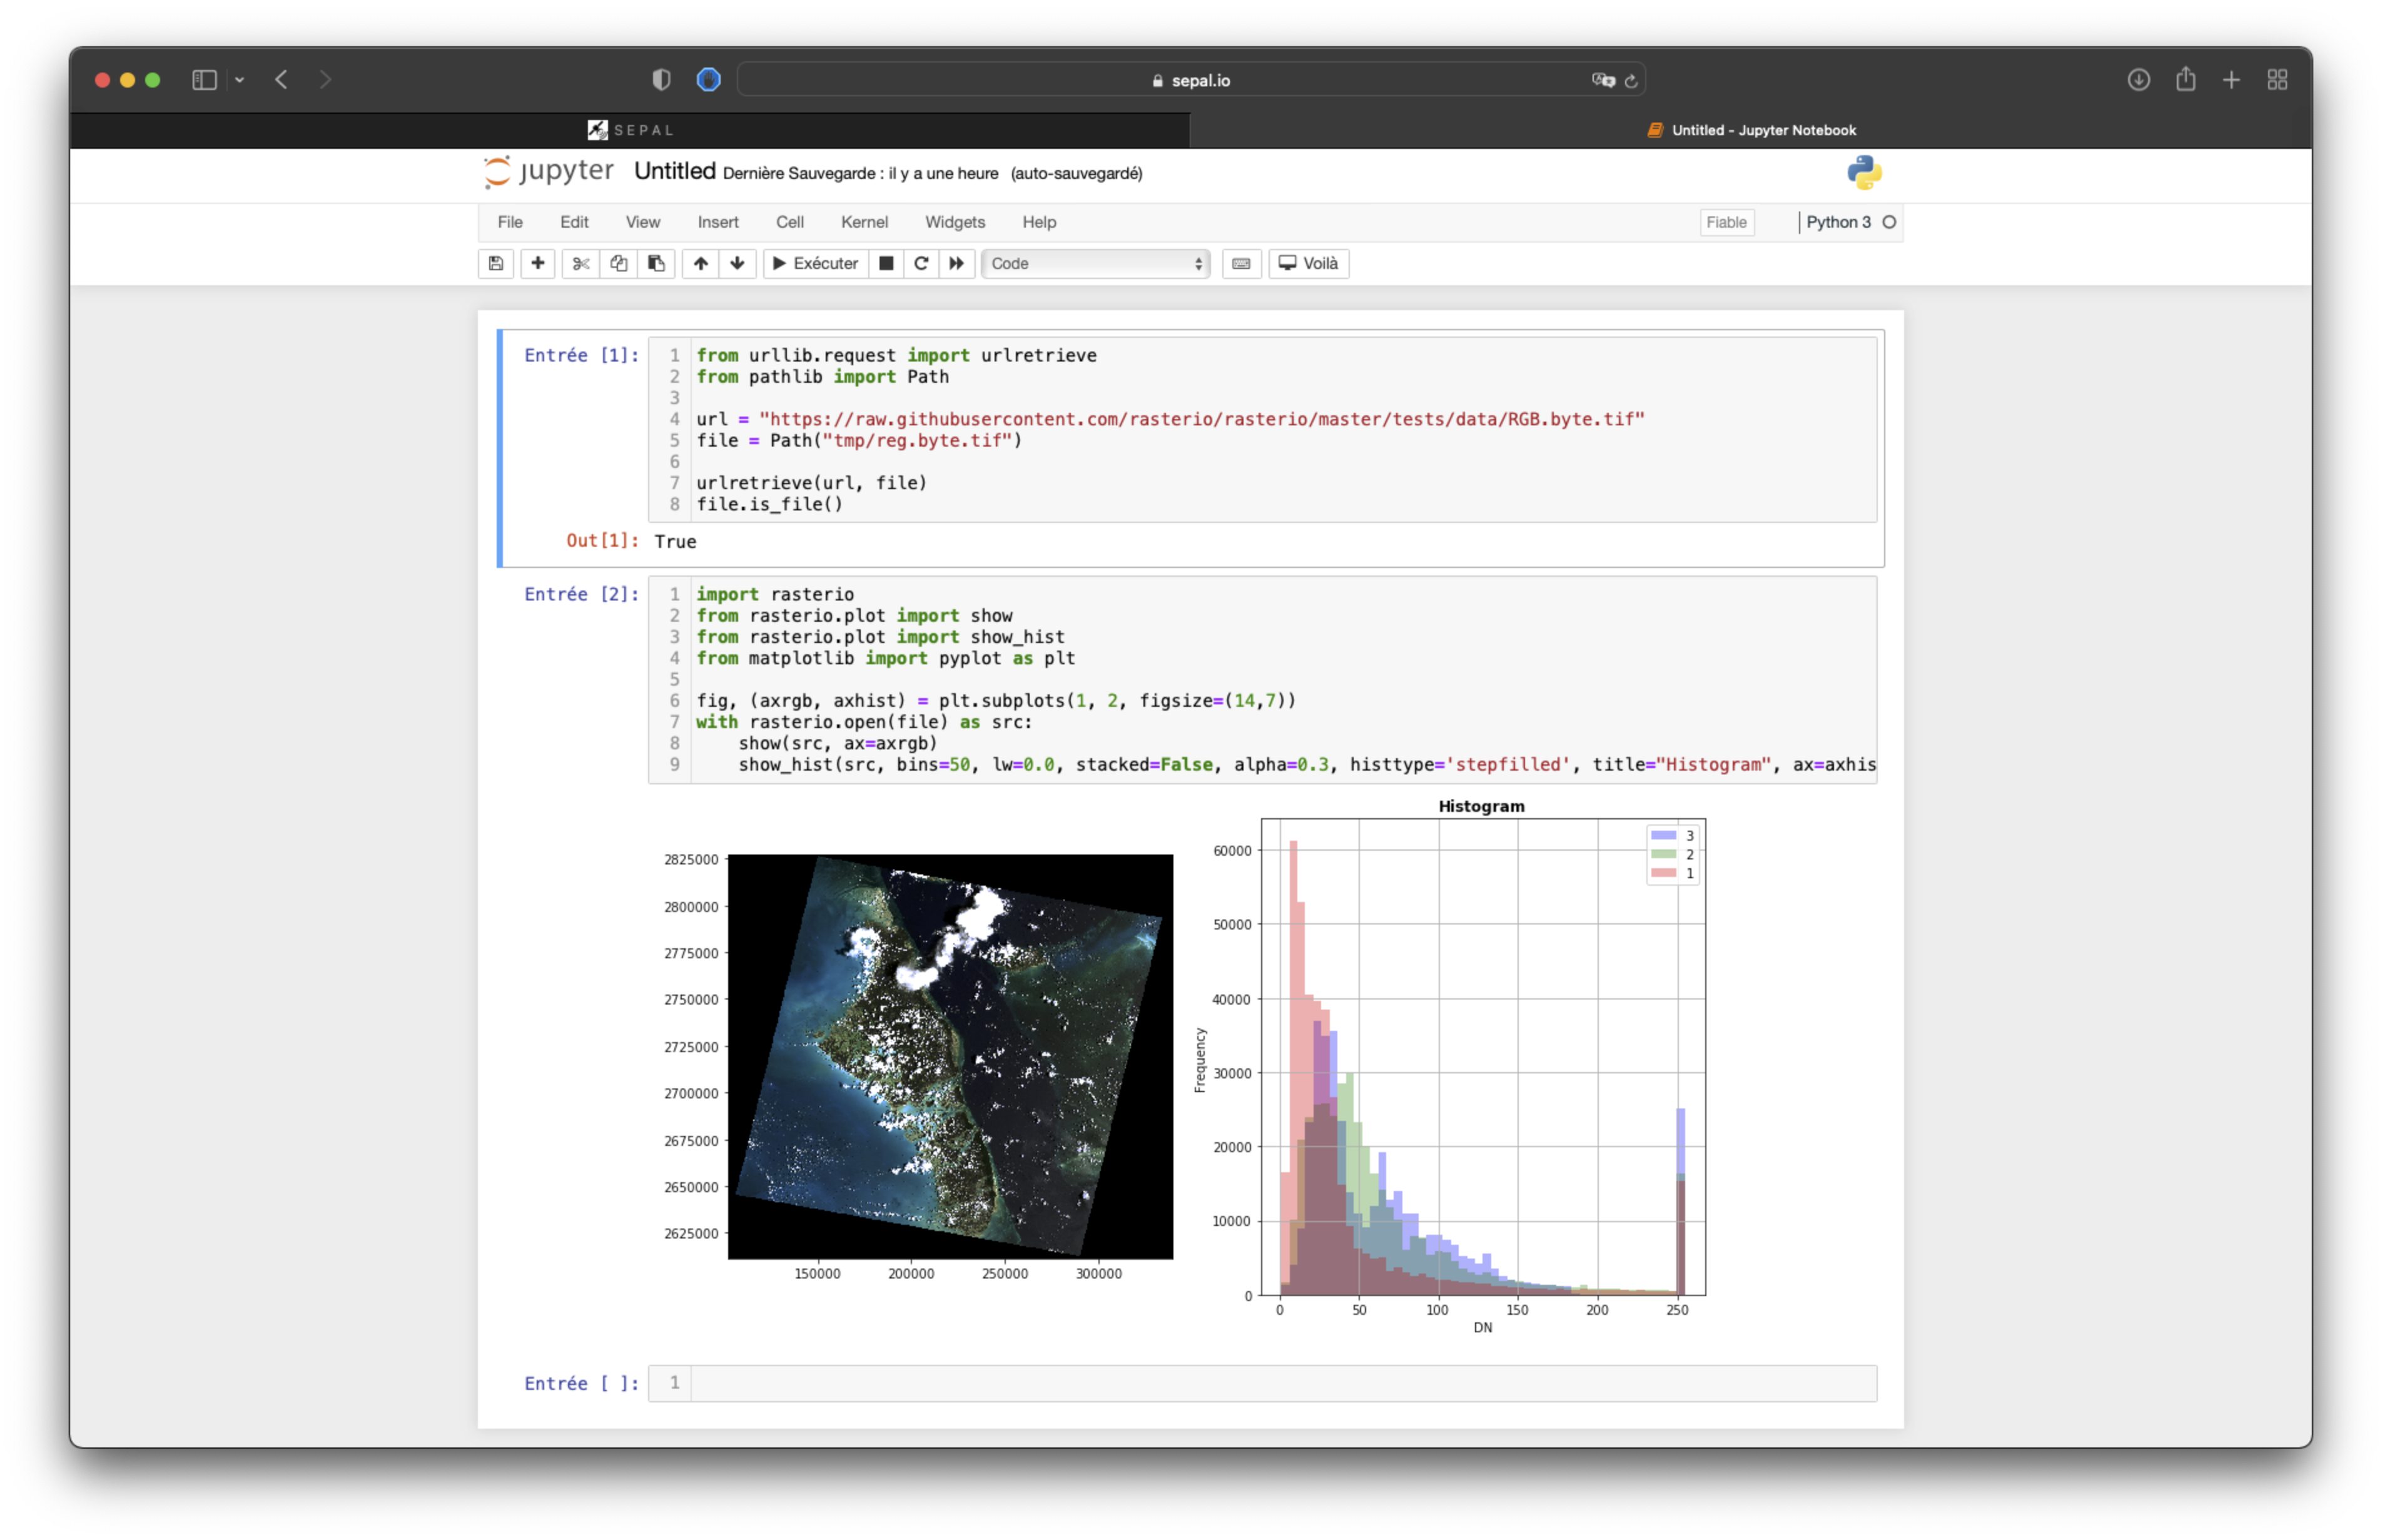
SEPAL instances run on focal Ubuntu machines and thus provide a fully functional Python 3.10.12 environment, which is accessible through Jupyter Notebook, JupyterLab or the terminal:
Description#
The SEPAL Python environment is not empty; there are numerous embedded libraries (see figure below).
# version 2022-11-24
########  geospatial data analysis  ########
scikit-image
scipy
shapely
shapely-geojson
tqdm
GDAL==$GDAL_VERSION
bqplot
numpy
geopandas
matplotlib
pandas
dask[complete]
planet
tensorflow-probability
geeadd

########  Google Earthengine  ########
oauth2client
google-api-python-client==1.12.8
git+https://github.com/openforis/earthengine-api.git@v0.1.384#egg=earthengine-api&subdirectory=python
oeel

########  BFAST dependencies ########
wget
Sphinx
sphinx-bootstrap-theme
numpydoc
git+https://github.com/12rambau/bfast.git

########  sepal modules  ########
Unidecode
pyperclip
python-dateutil
pytesmo
Wand
PyPDF2 # more recent version are avaiable (PyPDF4)
rasterio
openpyxl
pre-commit


########  web api  ########
falcon
gunicorn
pyCrypto
awscli==1.11.18 # Pinned to prevent backtracking

########  other deps  ########
xarray
dask
dask-geopandas
nrt
seaborn
requests
coverage
geetools
geeadd
geeup
cogee
xee
torch
torchvision

########  OSK requirements  ########
descartes
fiona
godale
psycopg2-binary
imageio
rtree
retrying
Cython
pyproj

########  Early Warning System for Canopy Disturbances in Ecuador (SATA)  ########
nose
nosexcover
pylint
click
dateutils
boto3==1.4.3 # Pinned to prevent backtracking
To check if it’s already installed, run pip show <name of your lib>.
Customization#
The SEPAL environment can be customized to user needs using any third-party libraries and pip. By default, installation will be run in --user mode and won’t affect other SEPAL users.

Note
If you face compatibility issues when customizing your SEPAL environment, let us know in the Github issue tracker.
Virtual environment#
Attention
SEPAL does not support conda environments. If you need to install compiled libraries, contact the SEPAL team via the GitHub issue tracker.
SEPAL supports Python venv creation. In this section, we’ll explain how to create a venv and link it to Jupyter, so you can run your processes on the associated kernel.
By design, Jupyter is running on the Python Kernel described in the previous section. You can also use the kernel associated with our applications (they start with venv). If your work relies on very specific version numbers, it might be good to run everything in a dedicated environment.
If not existing, create a directory to host your virtual environments. From the root directory, run the following line:
folder_name="my_virtual_env" # Replace my_virtual_env with the name you want to give to the folder that will hold your virtual environment.
Then, copy and paste the following lines in your terminal:
mkdir -p "$folder_name" # Create your folder (include parents, if they are given).
python3 -m venv "$folder_name" # Create the venv (this line could take some time).
source "$folder_name/bin/activate" # Activate the virtual environment just created.
pip install ipykernel # Install ipykernel in our venv.
python -m ipykernel install --user --name="$folder_name" --display-name="(venv) - $folder_name" # Add the new venv kernel to Jupyter.
deactivate # Exit from environment (optional).
Now, this venv will be available as a kernel inside your Jupyter workspace. It will be automatically removed if you destroy the venv directory.
Note that if you want to install libs inside of this venv, you first need to activate it:
source your_venv_path/bin/activate