

GEE#
The Google Earth Engine (GEE) tool is a utility program that allows you to manage Google Earth Engine (GEE) assets and tasks from the command line.
The tool is installed automatically when you install the Python API. To check whether it is installed and functioning correctly, enter the following in a command line:
$ earthengine
If the tool is properly installed, it will display a short summary of available commands. To get help on a specific command, use:
$ earthengine command -h
When you first install the Python API, you will need to log in using the Authenticate command, as described below.
Available commands#
More information on the available command can be found on the Google API website.
$ authenticate          # Prompts the user to authorize access to GEE via OAuth2.
$ acl                   # Prints or updates the access control list of the specified asset.
$ asset                 # Prints or updates metadata associated with a GEE asset.
$ cp                    # Creates a new GEE asset as a copy of another asset.
$ create                # Creates assets and folders.
$ ls                    # Prints the contents of a folder or collection.
$ licenses              # Prints the name and license of all third-party dependencies.
$ du                    # Prints the size and names of all items in a given folder or collection.
$ mv                    # Moves or renames a GEE asset.
$ model                 # TensorFlow model-related commands.
$ rm                    # Deletes the specified assets.
$ set_project           # Sets the default user project to be used for all API calls.
$ task                  # Prints information about or manages long-running tasks.
$ unset_project         # Unsets the default user project to be used for all API calls.
$ upload                # Uploads assets to GEE.
$ upload_manifest       # Uploads an image to GEE using the given manifest file.
$ upload_table_manifest # Uploads a table to GEE using the given manifest file.
Use GEE in the Jupyter interface#
We highly suggest working directly from the Python interface of GEE, as Python has been extended by the community (gee_tools, geemap, ipygee, sepal_ui, etc.) and is more user-friendly.
It’s also the best way to prototype a script before using it in a SEPAL application, as the translation from Python to Javascript is not always straightforward.
The main advantages of the GEE code editor are:
the access to a live map
the value inspector
SEPAL and JupyterLab can help you bring this to the next level by providing both tools in a Python notebook, allowing you to also access all Python geospatial tools created by the Earth observation community.
First, open a JupyterLab instance and start a notebook.
In the first cell, create a map and place it the sidecar by running the following code:
from sidecar import Sidecar
from sepal_ui import mapping as sm

m = sm.SepalMap()

with Sidecar(title='Map'):
    display(m)
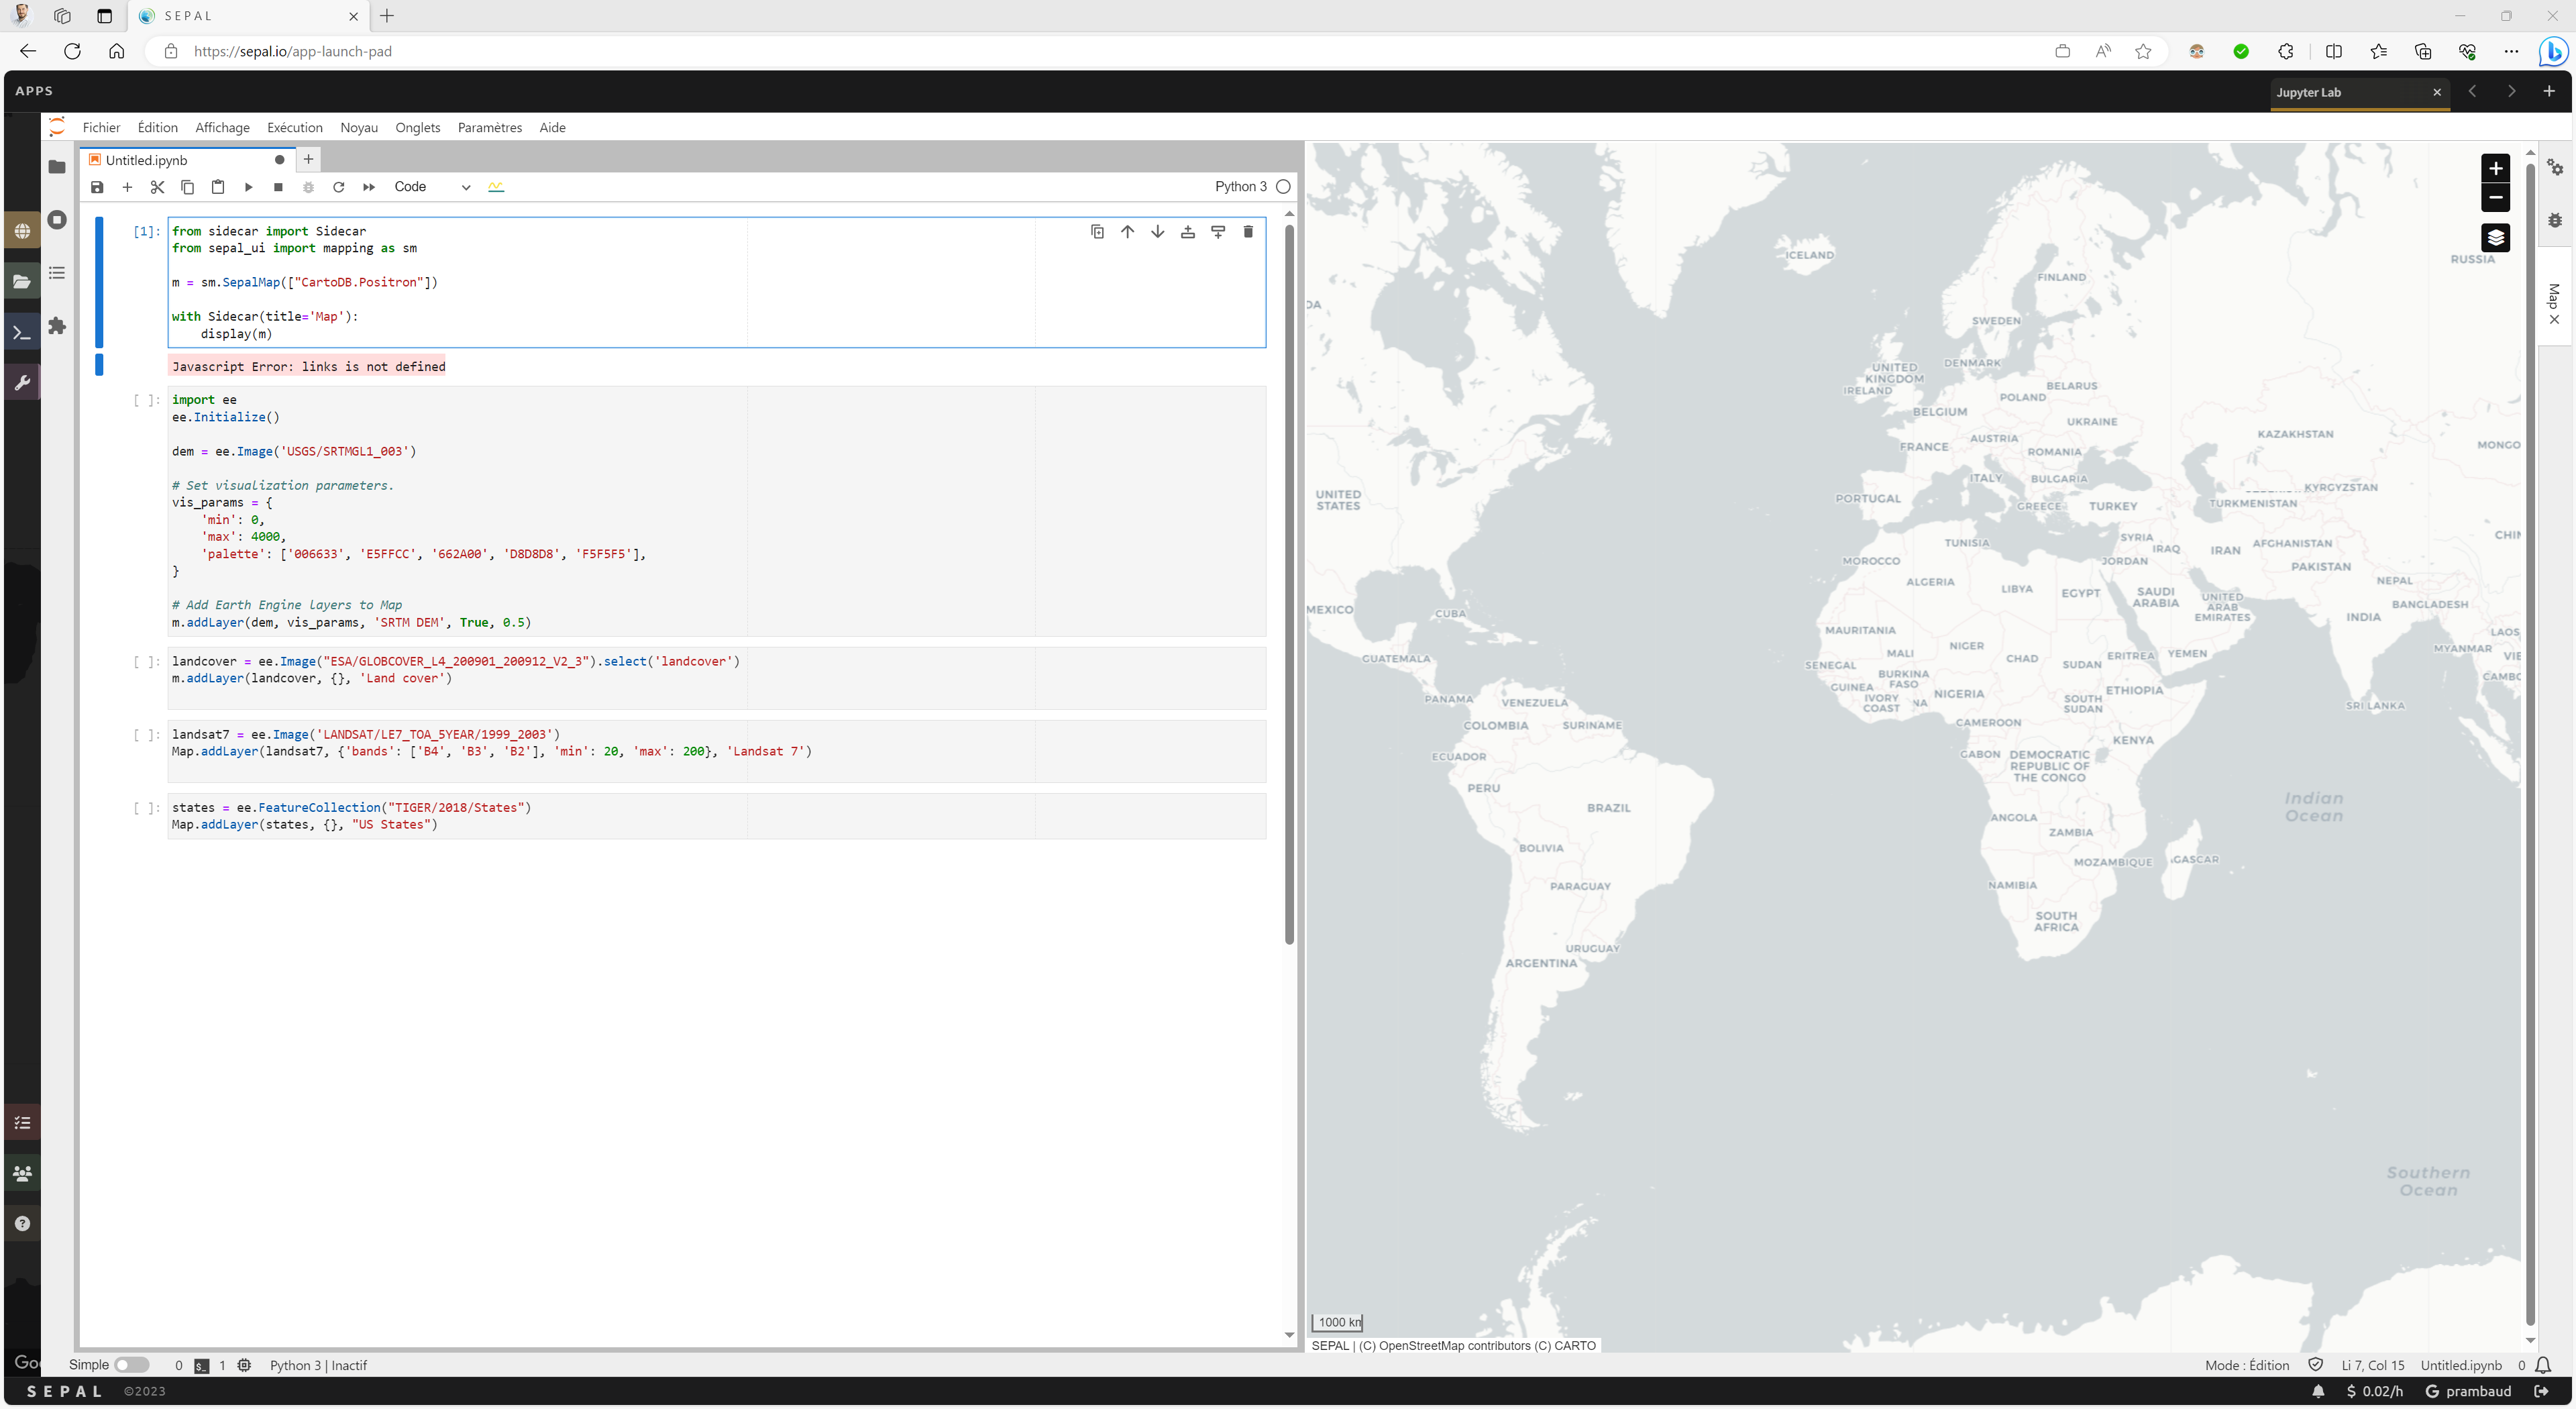
As displayed in the previous image, the list of available sidecars is displayed on the right side of the frame. You can create as many sidecars as you want and display any widget in it. We chose to use the sepal_ui mapping widget as it includes key features, such as:
GEE full compatibility
an extended layer manager
a value inspector
The map will be displayed in a sidecar next to the notebook. It is running live, so you can add extra layers to it in any cell. Also, it is more powerful than the Code editor map as you don’t need to run all your cells again to update the map.
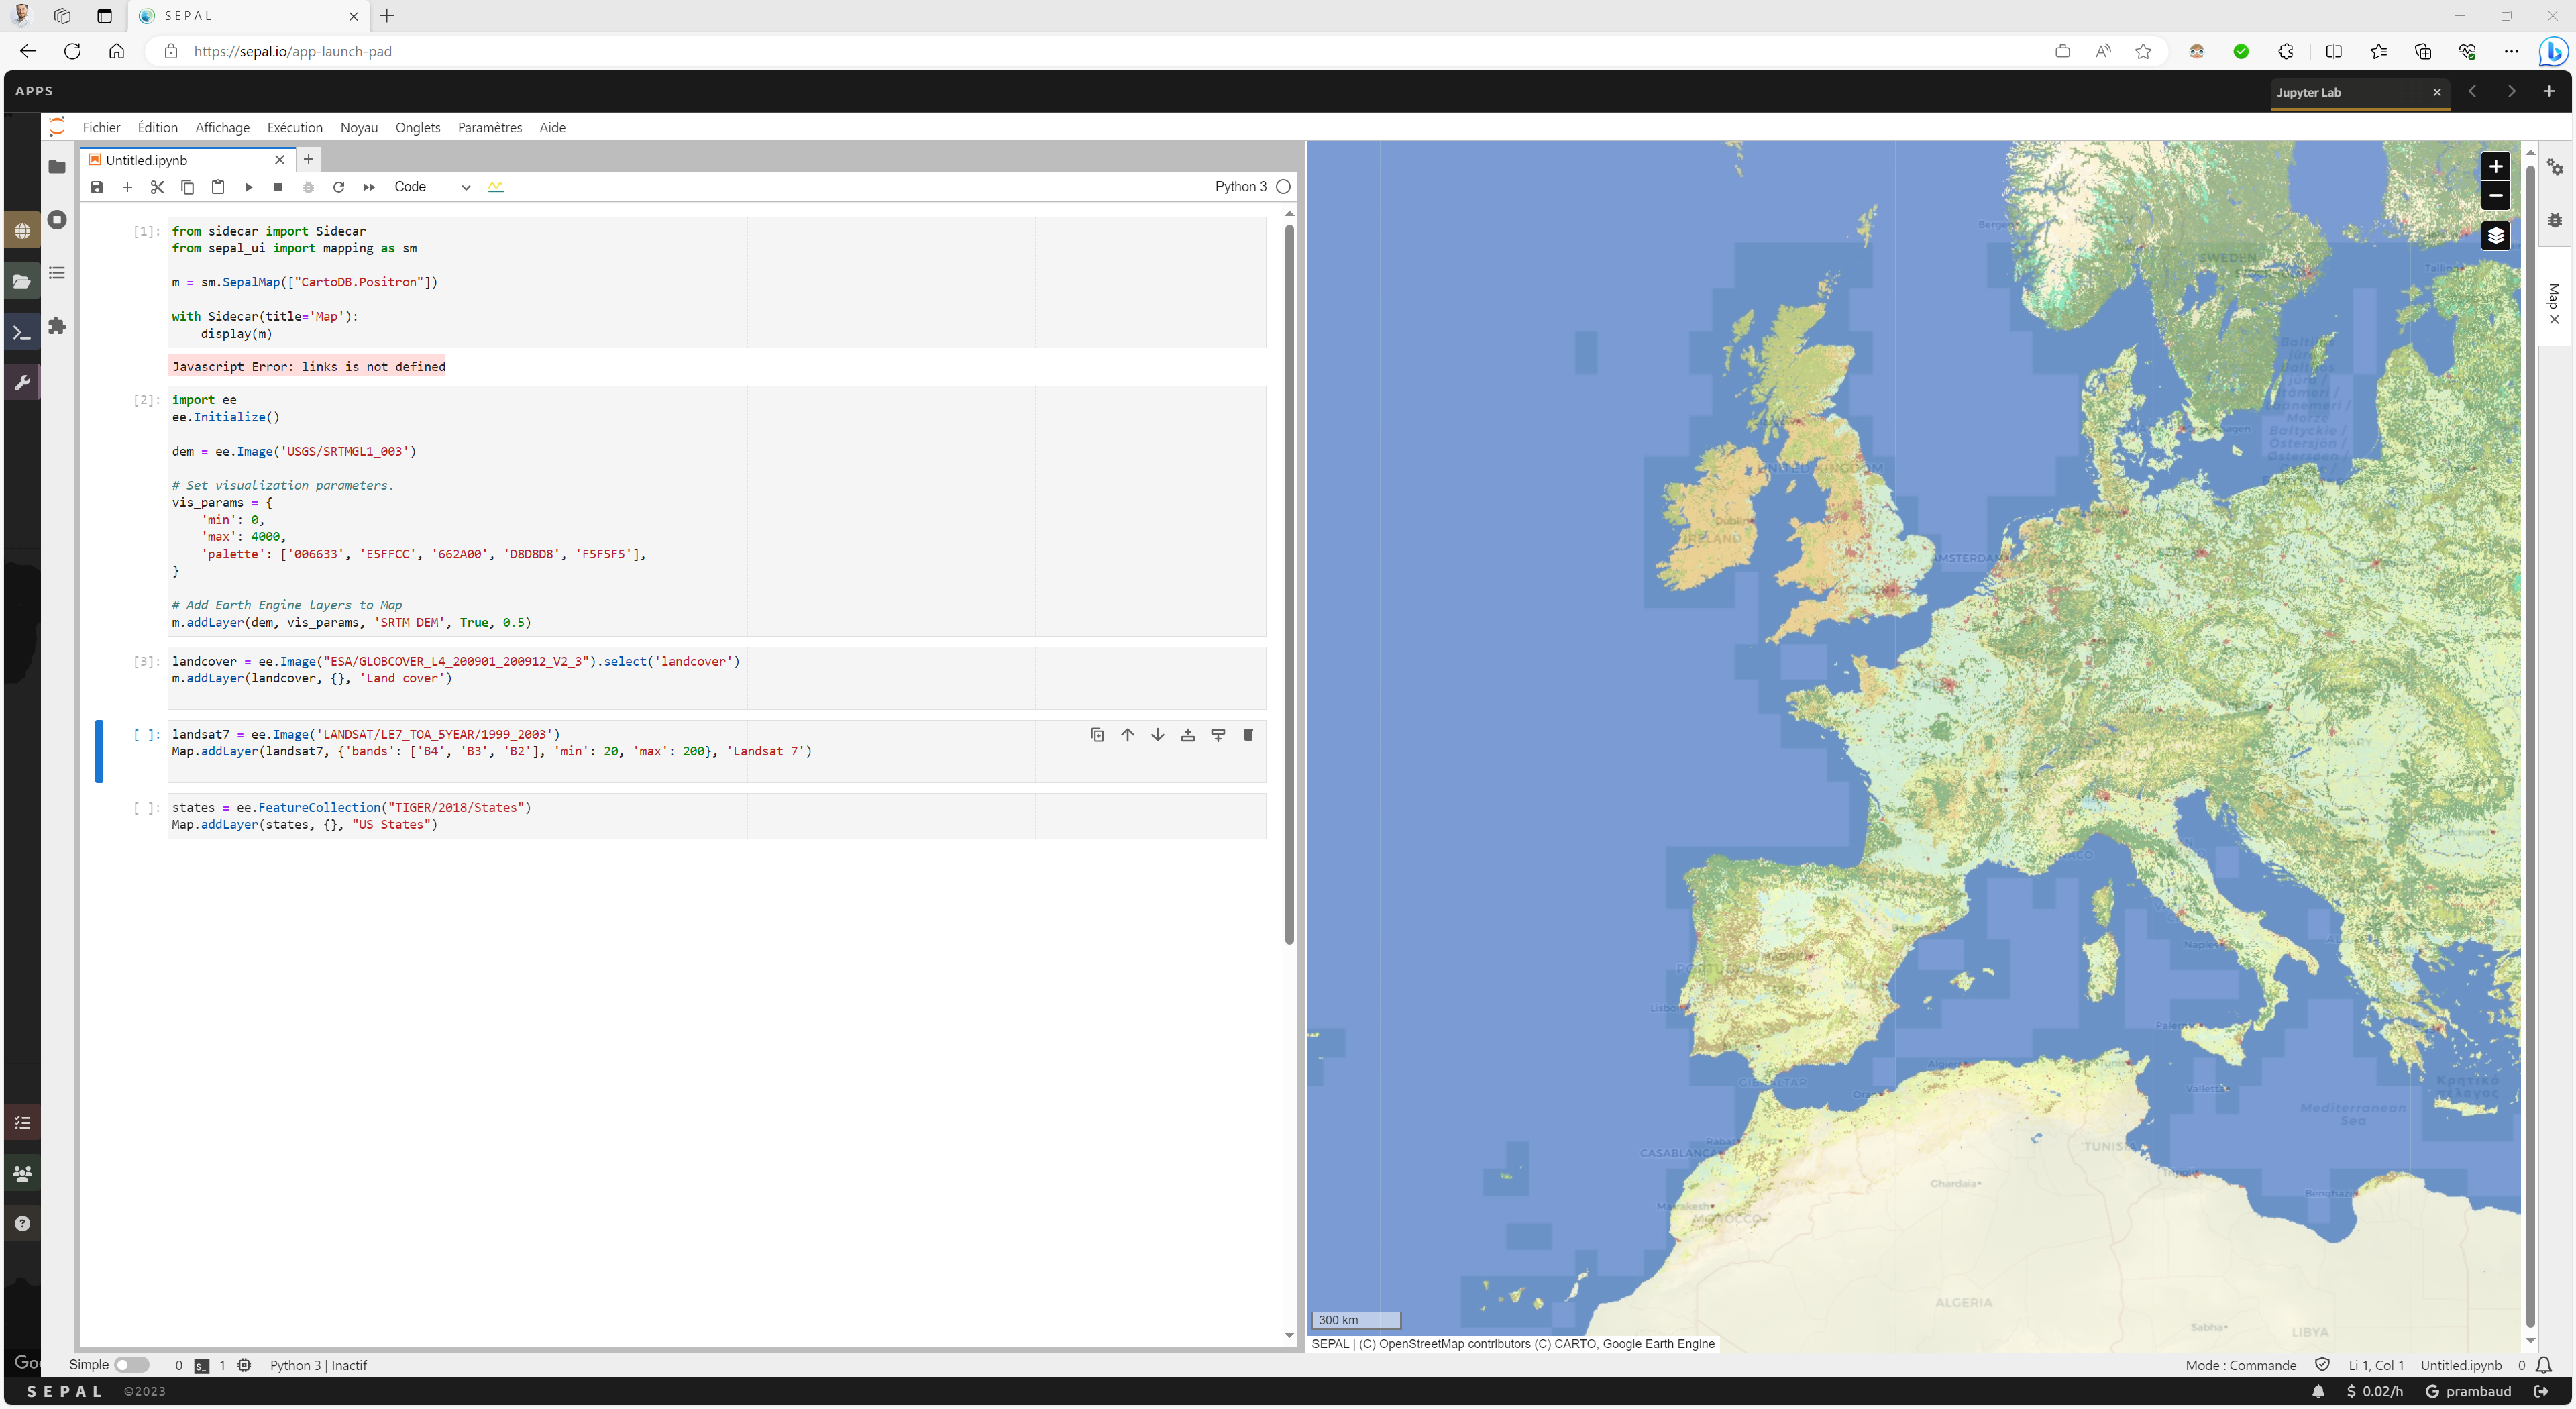
Now you are all set to create your own GEE script – you can use the GEE Python API documentation to get started.