Recipe projects#
When interacting with SEPAL processes, a user creates Recipes, which can work together and be interconnected inside a single project (e.g. Mosaics used in a Classification).
To help with these interconnections, the SEPAL platform provides a Project system to organize users’ work.
Overview#
Go to the Processes interface of SEPAL ().
(You should see the following. If you’ve already created recipes in previous releases, you will see a list of existing recipes).

The following interactions are available on this page:
Add a recipe
Manage a project
Select a project
Order recipes by name, or update date
Edit recipes
Read the following section to understand how users can create a new project and manage existing projects in the SEPAL platform.
Project#
Note
Projects are personal. They cannot be shared and they are not visible to other users.
Tip
For every user, a [no project] project is created during registration. This project will be the fallback for every recipe that was created before the publication of the feature. It cannot be deleted or renamed.
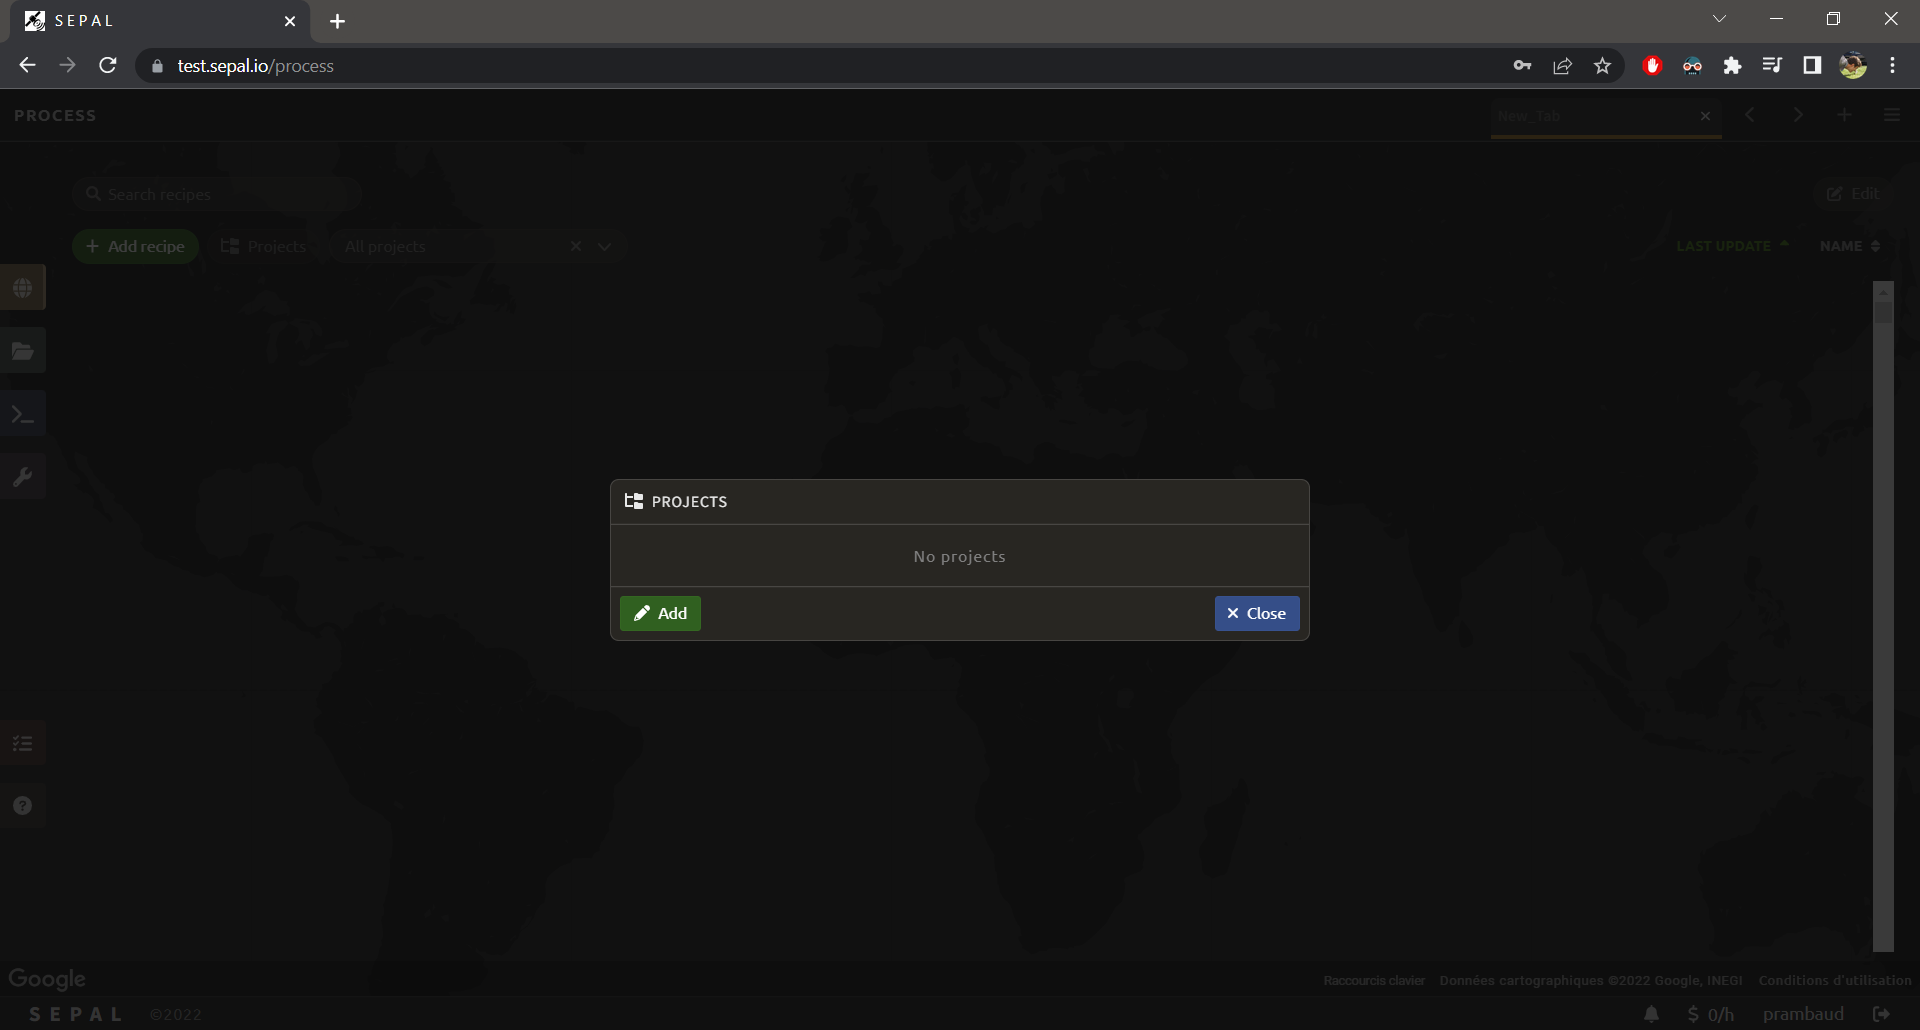
To create a project, select Projects, which opens the interface (see figure below).
Then, select Add to create a new project. Enter the name and select Apply.
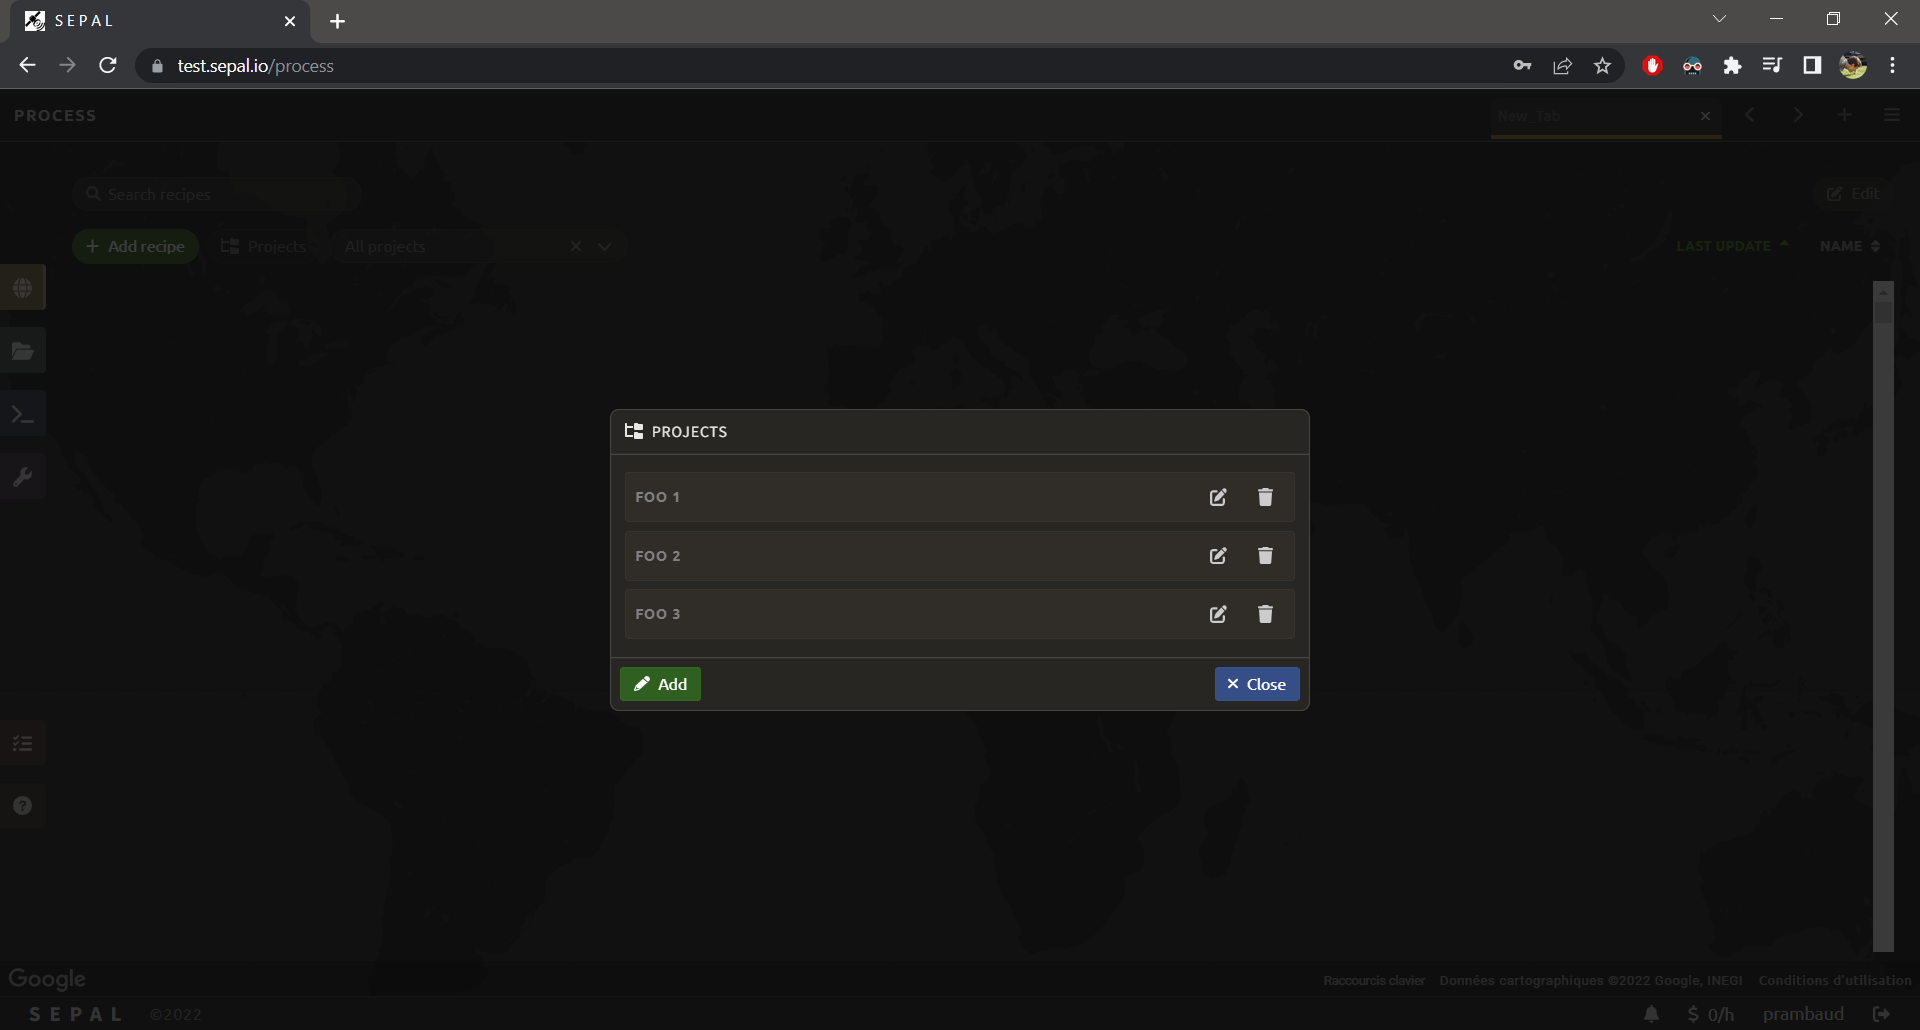
The newly created project will now appear in the list.

To remove a project, select the icon (located beside its name), which will destroy all recipes included in the process as well.
Recipes#
When entering the Process interface, no projects are selected by default, meaning that users will see all recipes available in their SEPAL accounts. All recipes are displayed using the following prototype: <project name> / <recipe name>.
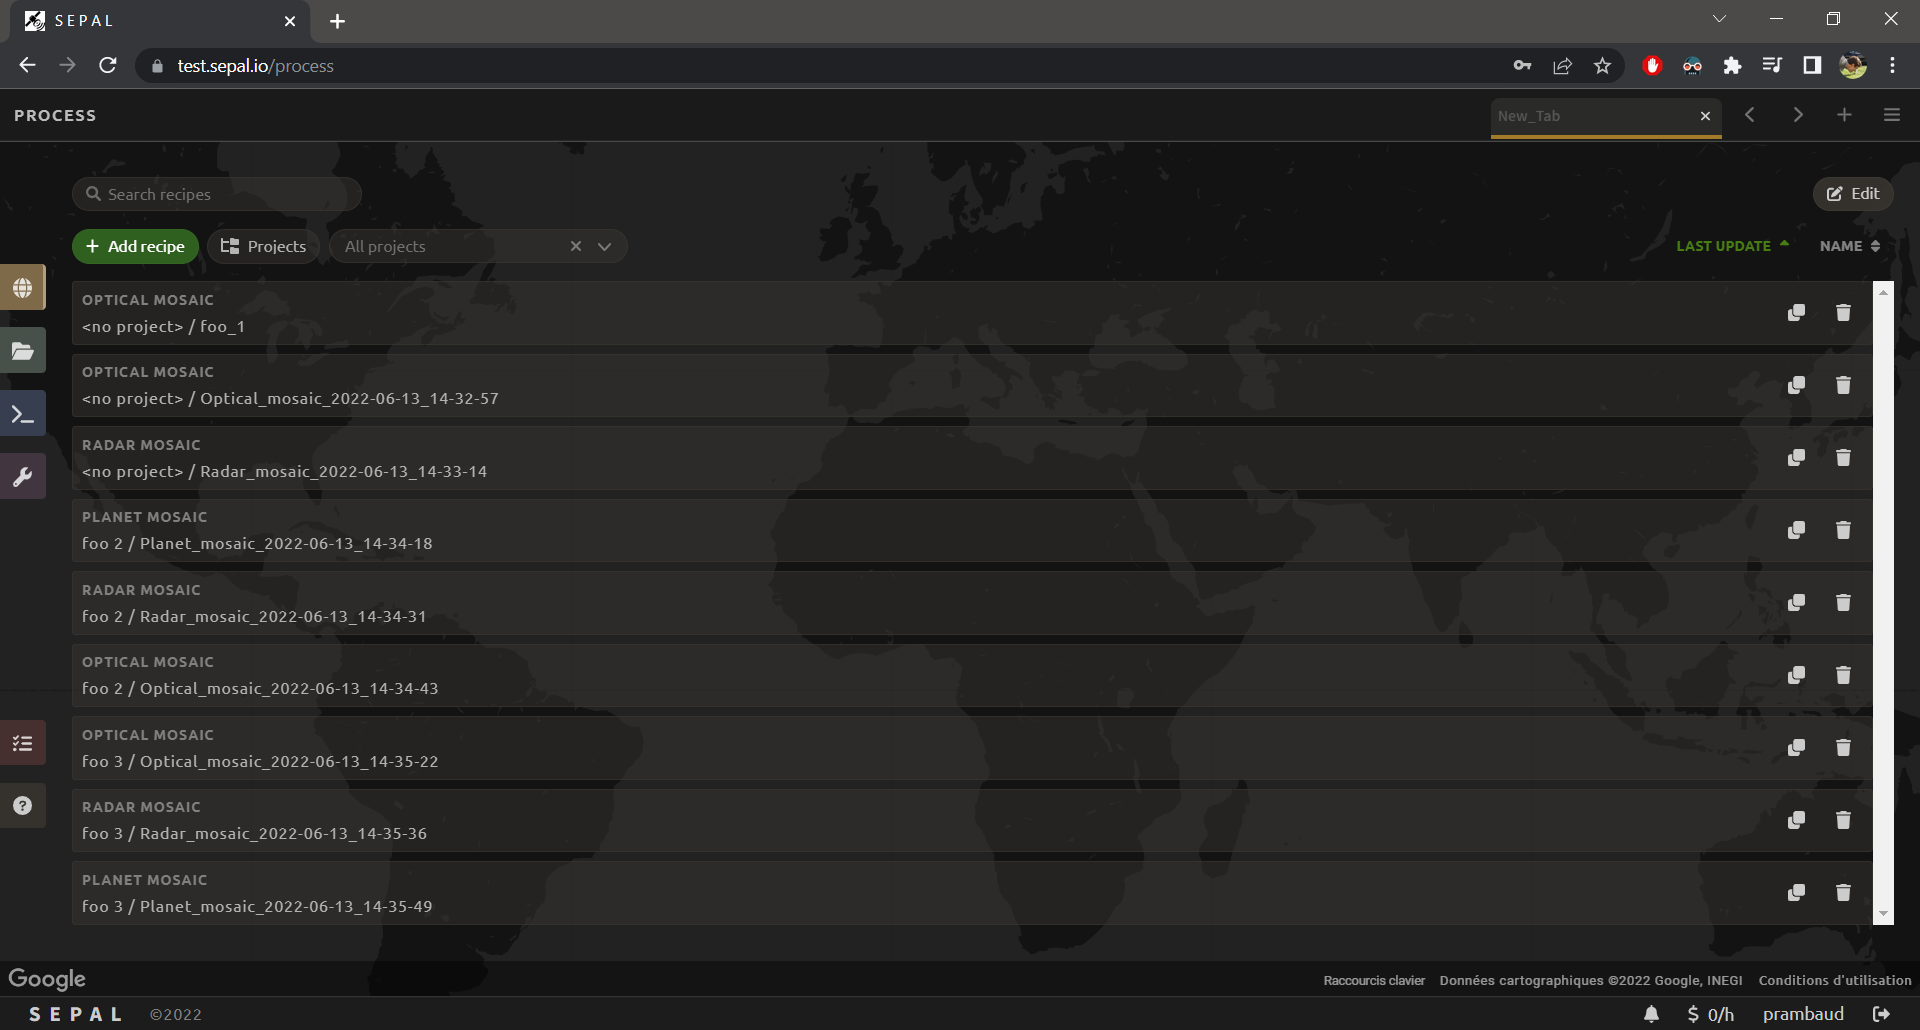
From this page, the user can customize and manage recipes.
Filter recipes#
Select (3) to filter recipes according to your project. Once selected, only the recipes included in the project will be displayed. The field is clearable (i.e. you can go back to the unfiltered state and select another project). Also, [no project] can be selected.
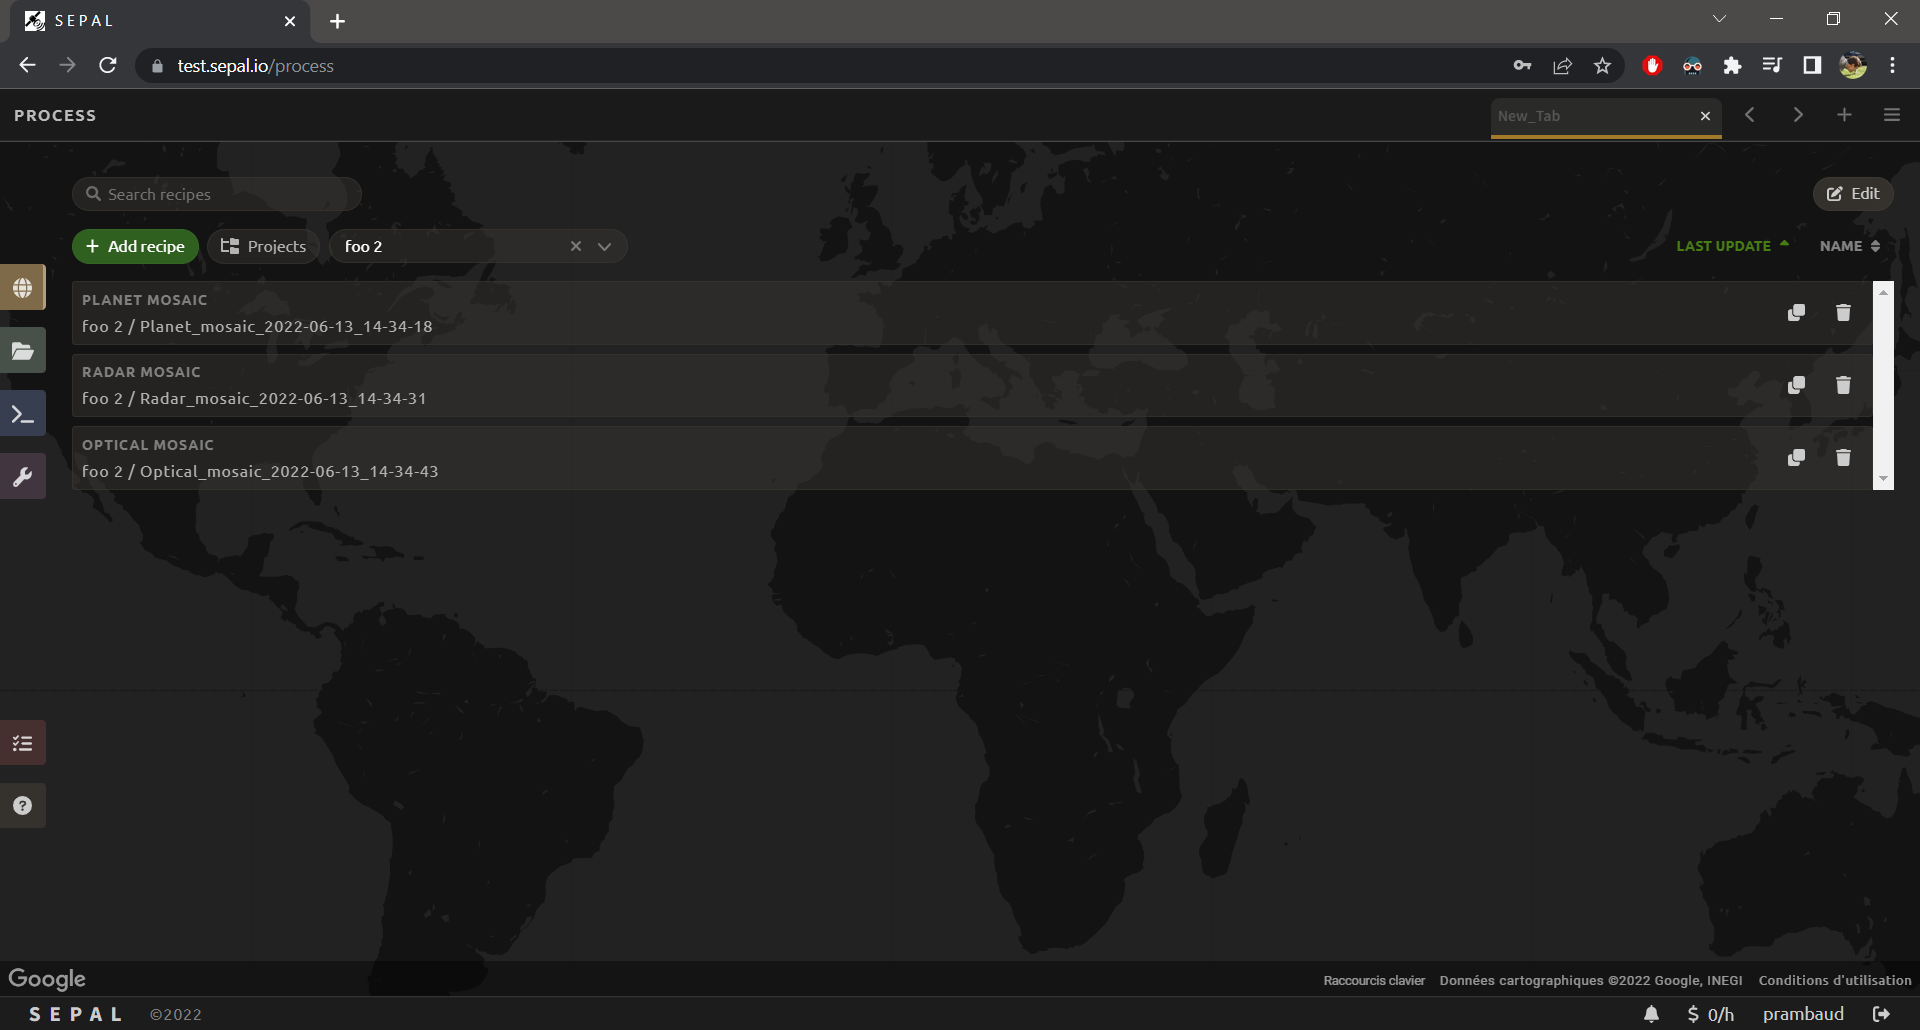
Once a project is selected, it will appear as Current project in the project list (see figure below).

Once a project is selected and a recipe is created, it will belong to the selected project.
Tip
If you don’t want your recipe to be associated with any project, unfilter the list before selecting Add recipe.
Edit recipes#
Recipe behaviour can be edited directly from this view. Select the Edit button to open the Editing interface.
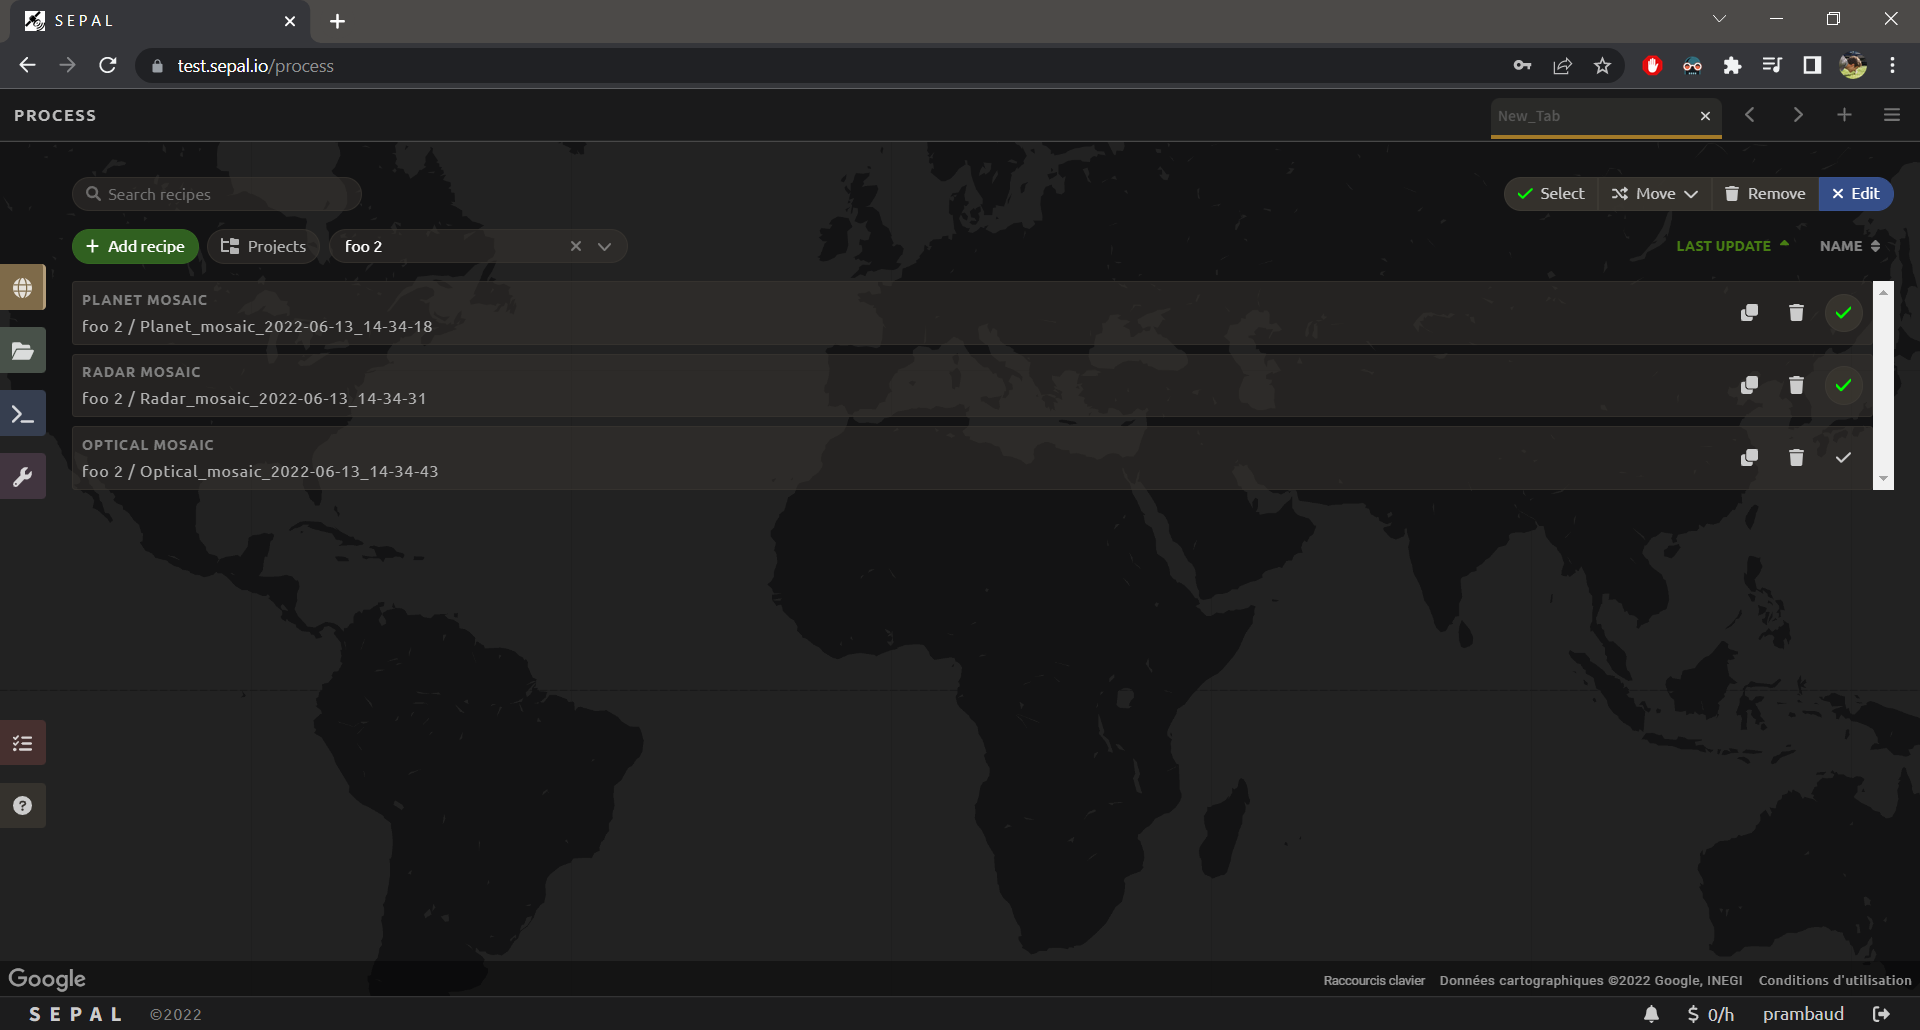
From this interface, you can:
Select: Select/unselect all recipes shown on the screen. Any other editing operation will only be applied to the selected recipe(s).
Move: Move the selected recipe(s) to another project.
Remove: Delete the recipe(s) permanently.
Attention
Before deleting individual recipes, make sure that they are not used as inputs in others.
Connect recipes#
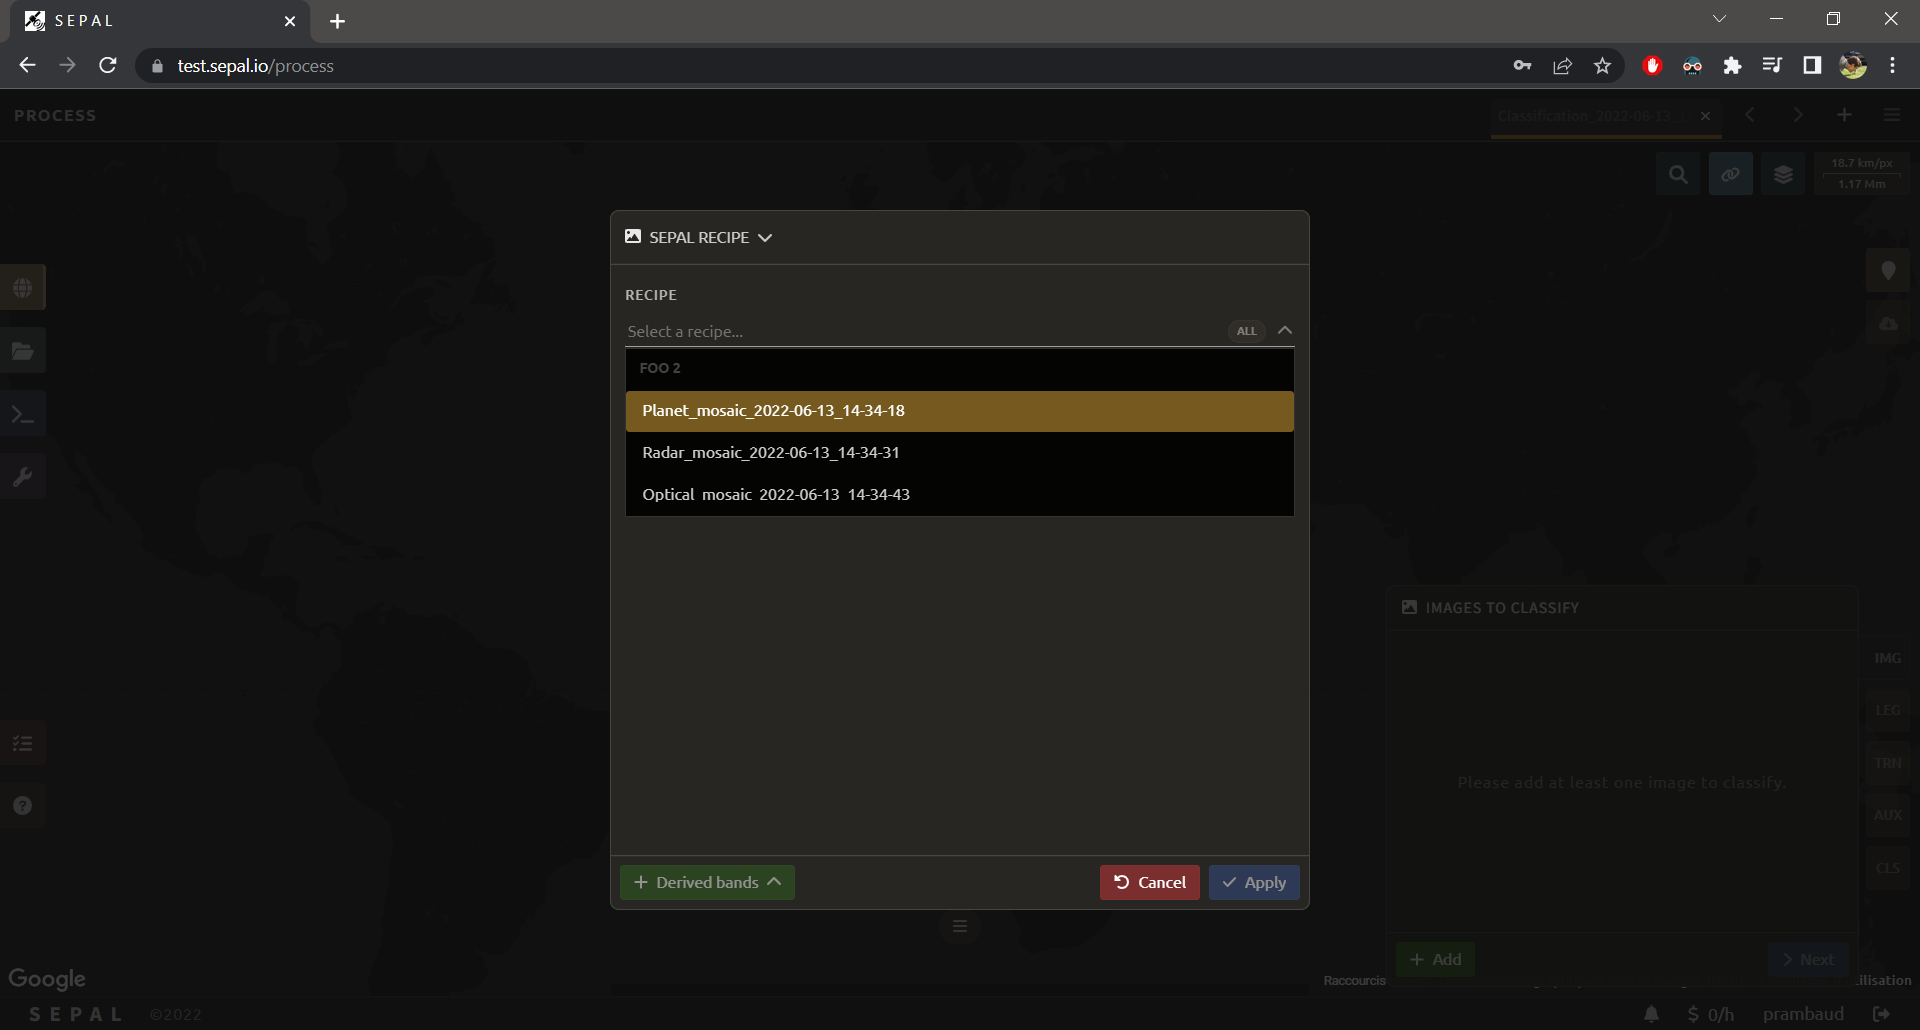
When creating recipes such as Classification, users can use other recipes as inputs for the process. To avoid flooding the dropdown list with too many values, only the recipes from the same project will be displayed (see following figure on the left).
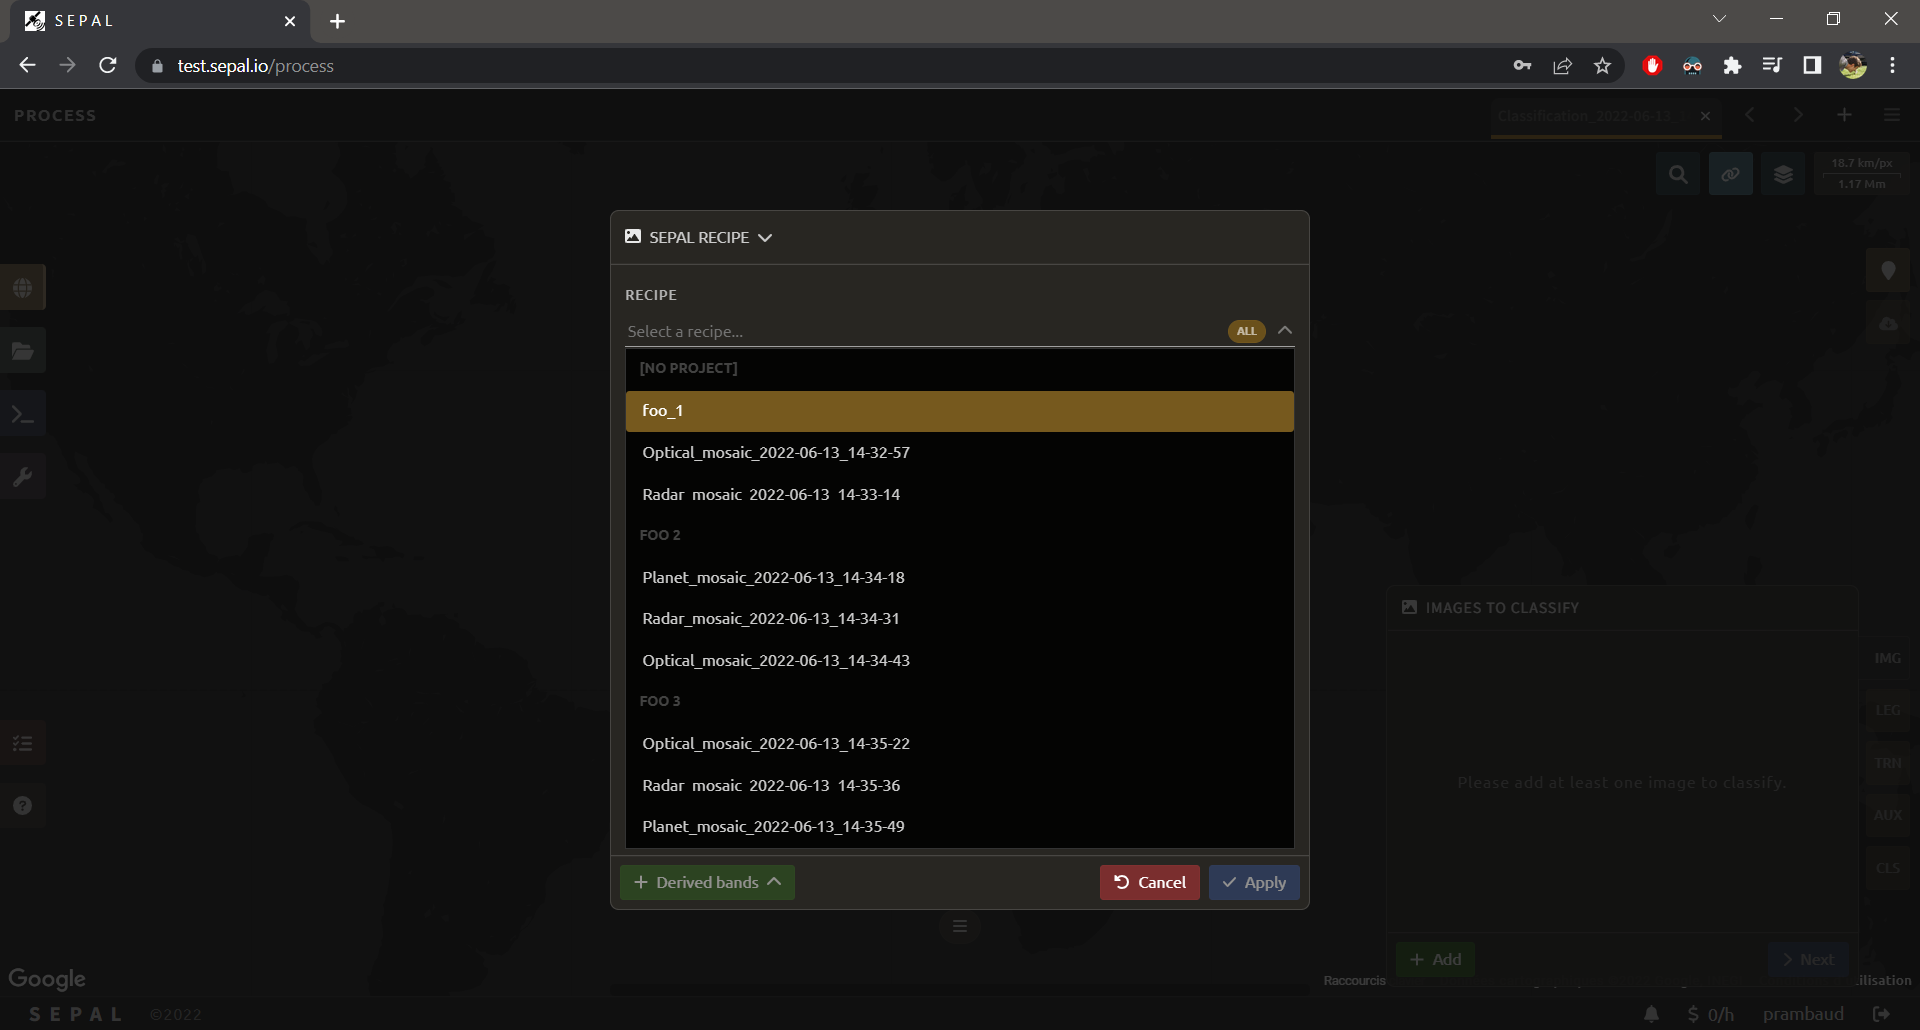
If one still wants to see all of the recipes in the dropdown list, select All and all recipes will be displayed using project names as headers (see following figure on right).
